5 Things to Know Before Visiting Flume Gorge New Hampshire
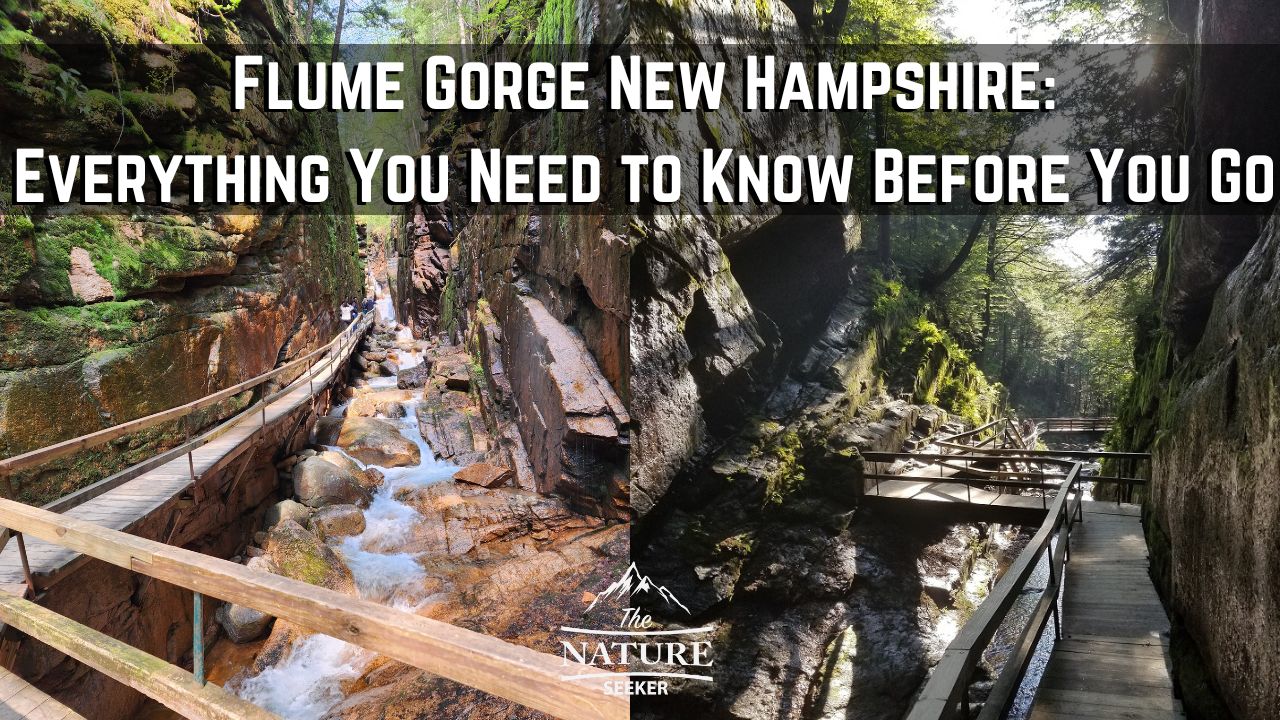
The Flume Gorge in New Hampshire is one of the most popular attractions within the White Mountains and if you’re planning on going there for the first time, then this post is going to show you 5 important things to know plus what to expect from hiking in this area.
I’ve been to the Flume Gorge State Park area twice. The first time I went, I only explored a small portion of it and didn’t realize there were many more things to do there, but on the second visit there I was able to do cover the entire park and trail there. It is beautiful but there are pros and cons to exploring Flume Gorge in my opinion that I’ll talk about below.
Quick info:
- Name: Flume Gorge.
- Location: Flume Gorge State Park (located in the New Hampshire).
- What is it? A 2-3 mile loop hike with waterfalls, covered bridges and more nature attractions.
- Cost to enter? Yes, I paid about $20 per person (adults), but kids fees are less.
- Hike difficulty: Moderate (if you have knee issues, I wouldn’t do the full loop).
- Rating: 4 out of 5 stars.
- Recommended? Yes, especially if you’re not so much into wild hiking activities (of which there are many around the area there), then Flume Gorge is a great, easy to navigate hike with a bunch of things to see throughout the trail.
The 5 things to know:
1) I recommend you reserve Flume Gorge tickets online (2 reasons for this):
- You can save a few dollars (for both adults and kids) and you can get Flume Gorge tickets here.
- Sometimes tickets for Flume Gorge sell out and if you don’t have a reservation, you won’t be able to get one in person (I just wouldn’t risk that).
2) Visit Flume Gorge early if you can:
There is a very large parking lot to get into this place (which is free, but you have to pay to enter the hiking area) but because it’s very popular, it usually gets crowded around the afternoon at Flume Gorge so it’s best to come here before that time.
3) Flume Gorge is more than just a canyon with a waterfall:
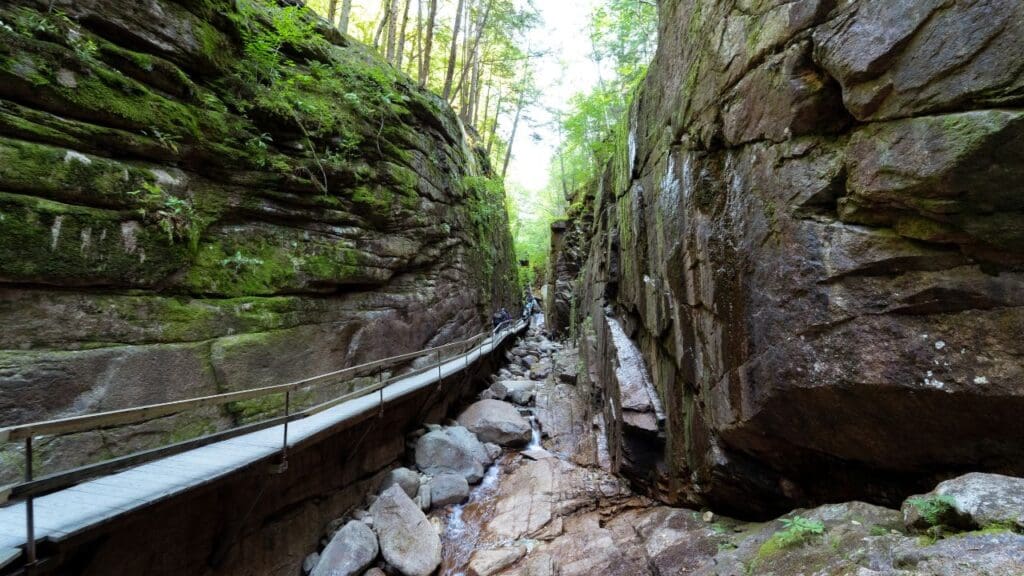
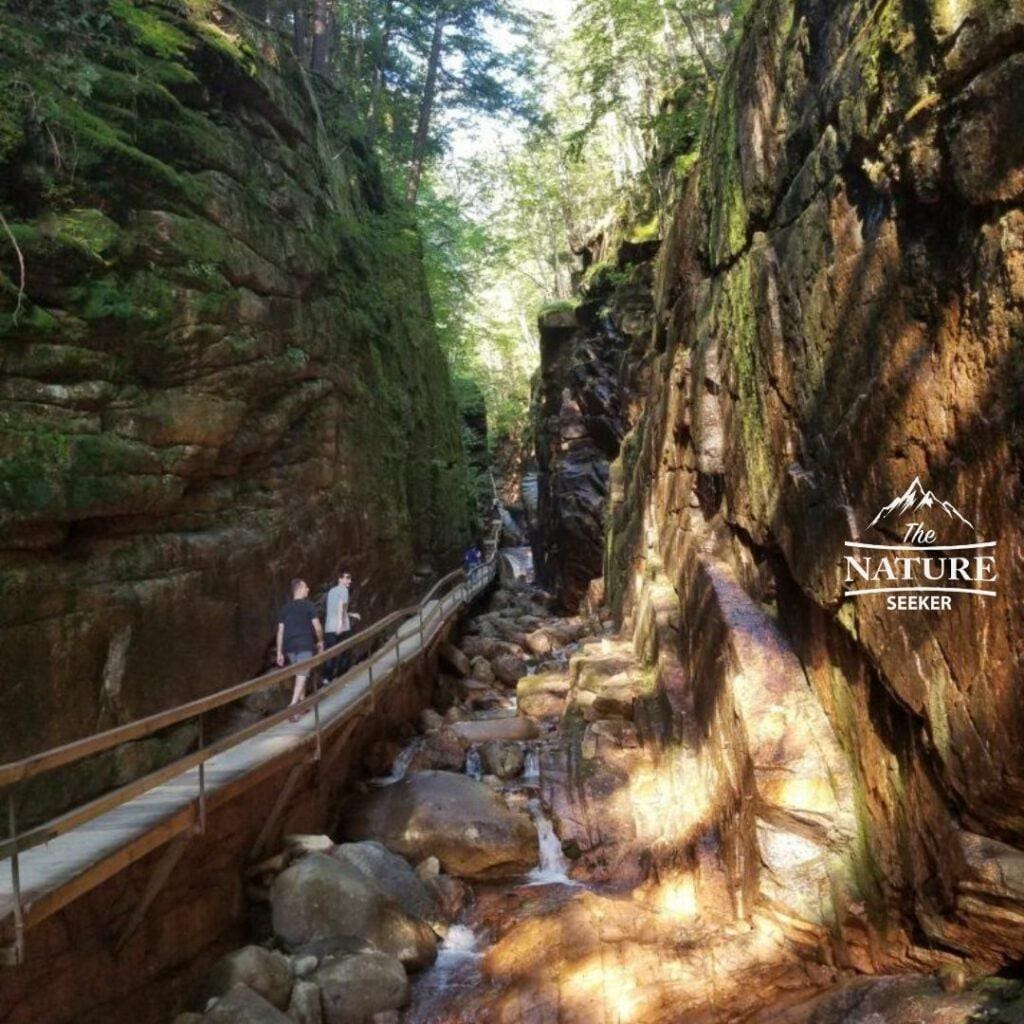
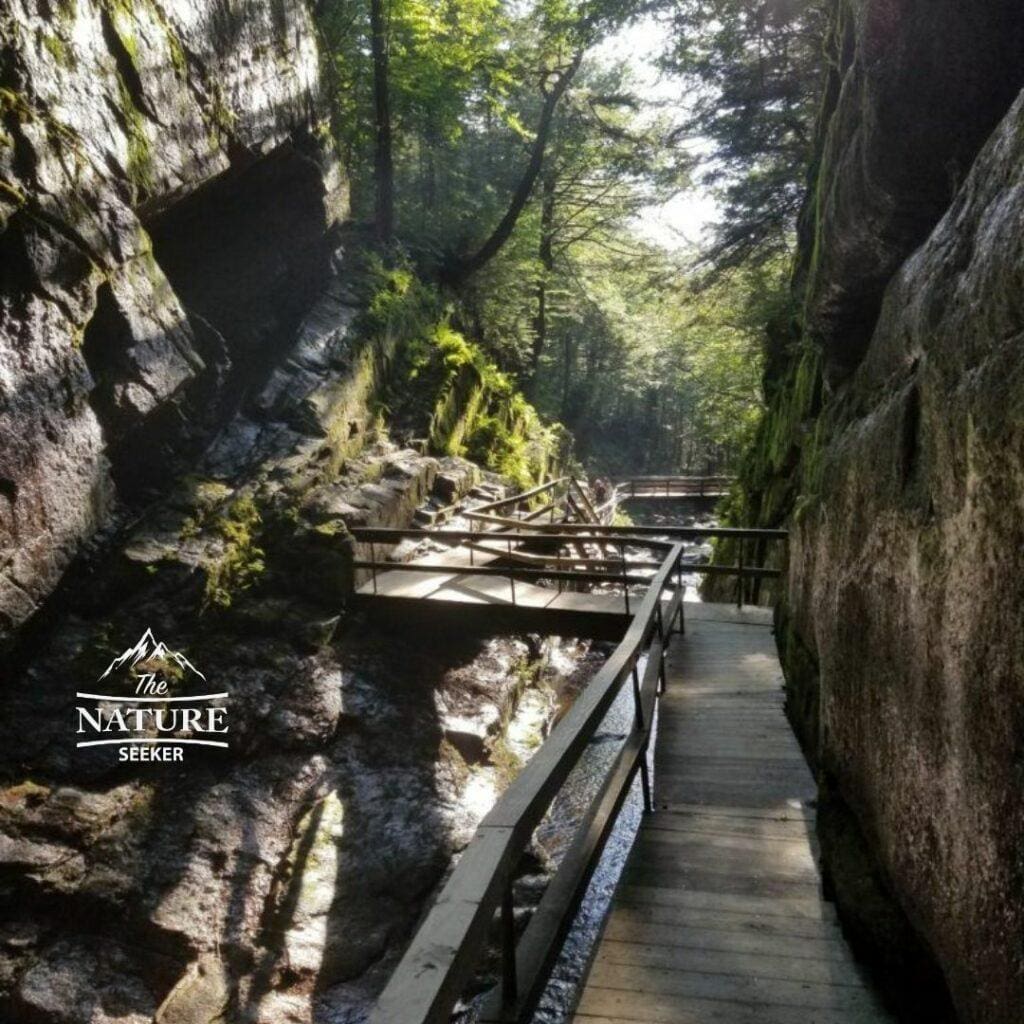
Typically people see pictures of this place as a river gorge with a boardwalk and here’s a preview of what that looks like:
But in reality there’s so much more to see in Flume Gorge besides this spot. As I said before, it’s a loop hike and there’s a bunch of different sights throughout, one of which is the very river gorge that’s most commonly seen in photos (although I do happen to think that the river canyon part is the best looking spot on the entire hike).
4) The full Flume Gorge loop is not recommended for everyone:
There’s quite a bit of up and down elevation hiking throughout the full trail so if you have injuries or other issues, you may want to consider not doing the full trail. The good news is that you can do parts of the hike (clockwise or counterclockwise) and the river gorge area is not far from the start of the trail (it’s about 1/4 miles in). If you do want to do the full loop and have injuries, here’s a few things that may help:
- Trailbuddy trekking poles (these are great for elevated hikes and protecting your joints).
- Salomon Speedcross 5 trail shoes (great traction, but any regular hiking shoes will work too).
- Waterproof socks (I recommend these for the river canyon area because it can get wet there).
5) There are a bunch of other equally/better attractions near the Flume Gorge area worth checking out:
I’ll talk about them below, but because this area is in the middle of Franconia State Park, there’s so many other hikes, attractions and cool spots to see and I happen to think most of them are better than Flume Gorge (just my opinion).
So now that you know about these 5 things regarding this spot, let me show you what to expect when you get into the area by showing you a summary of the hike and things to expect on it:
What to expect:
1) Before you start the hike: First you’ll have to get to the Flume Gorge State Park entrance. Here is a GPS to Flume Gorge. Like I said before, there’s a large parking lot but if you can find a spot closer to the welcome entrance, it’s better.
2) Beginning the hike: Once you park your car, you’ll enter the welcome area, show/buy your tickets, then pass through the door to start the hike. An important thing to know is that as you begin the Flume Gorge trail, you’ll either be doing it clockwise or counterclockwise (you will get a map of the area too but it’s not very informative in my opinion).
Both times I’ve been here, I’ve done the trail counterclockwise which I also think is how most people do it, so the following information will be showing you the spots you’ll see when you’re headed through the trail that way. I won’t be detailing every single little thing on the trail, just the most beautiful/important sights and things.
Anyway, as you leave the welcome area, you’ll walk for about 1,000 feet before you come to a fork in the trail. You’ll want to keep right to do the loop counterclockwise.
3) Shortly after, you’ll come across the famous Flume Covered Bridge:
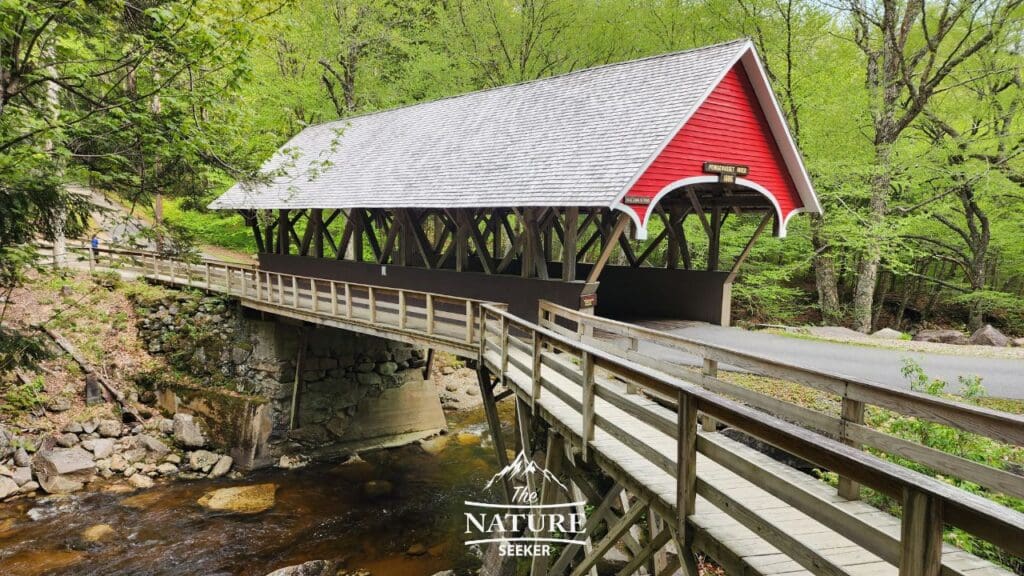
While you pass it, you will also notice a beautiful river underneath it:
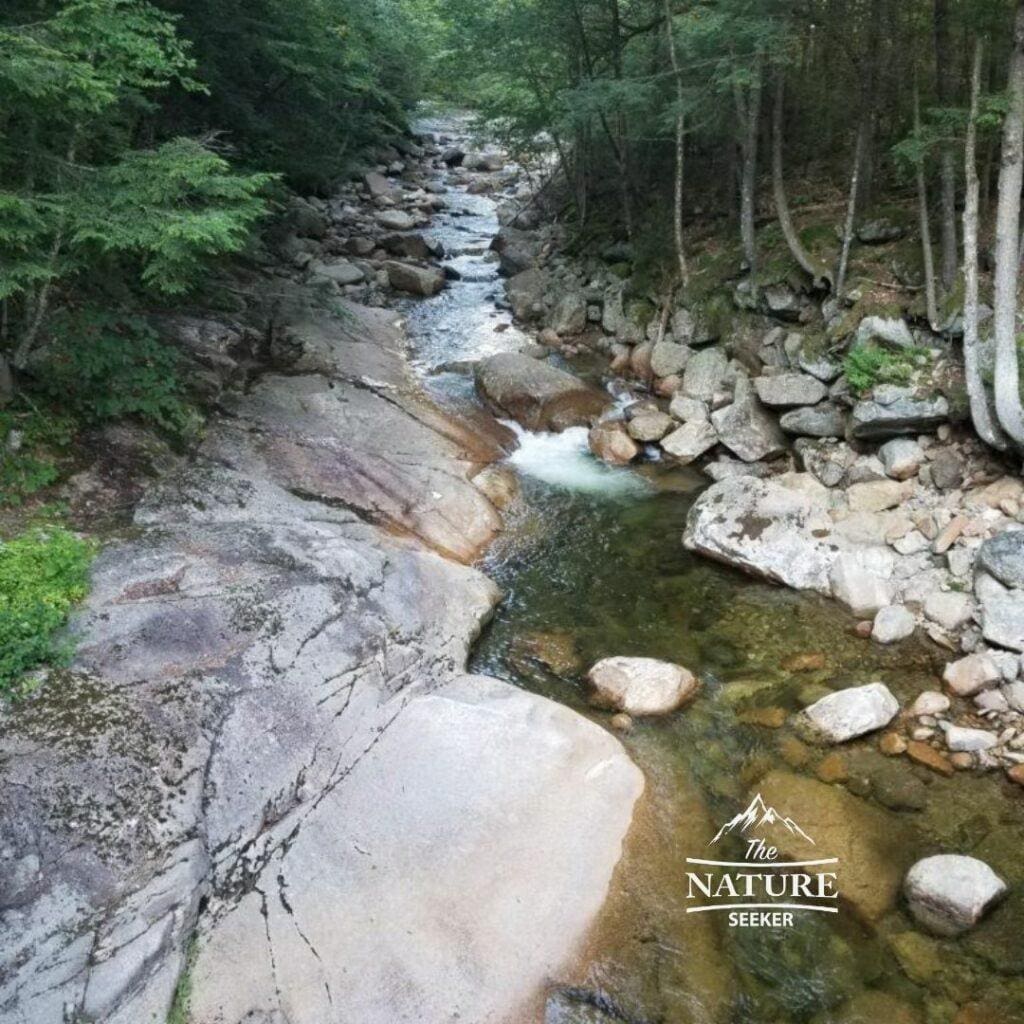
After that you will continue the hike (there will be a bit of incline) till you reach the next gem in this park.
4) Passing through the Table Rocks section of the hike:
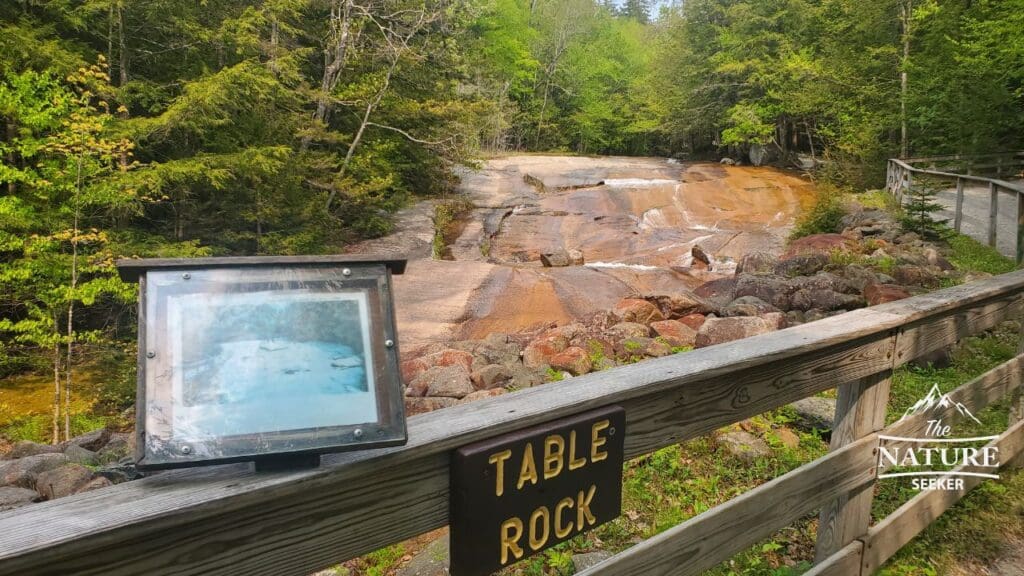
Table Rocks is a very beautiful smooth rock area you’ll hike parallel to on your way to the main Flume Gorge area. As tempting as it looks to water slide on it, the bad news is that it’s not allowed (and it is very slippery). If you enjoy those types of things, you can see examples of natural water slides in places like the Blue Ridge Mountains.
5) Shortly after you will get to the main attraction: The Flume Gorge!
As you already know, this is the main spot in the entire Flume Gorge State Park area. One thing to know is that this is where (depending on the water/weather conditions), the boardwalk might be very slippery. Although there are handles and spots in the boardwalk to have grip, I still recommend you be careful and wear the gear I recommended above.
6) Reaching Flume Gorge waterfall (it’s called Avalanche Falls):
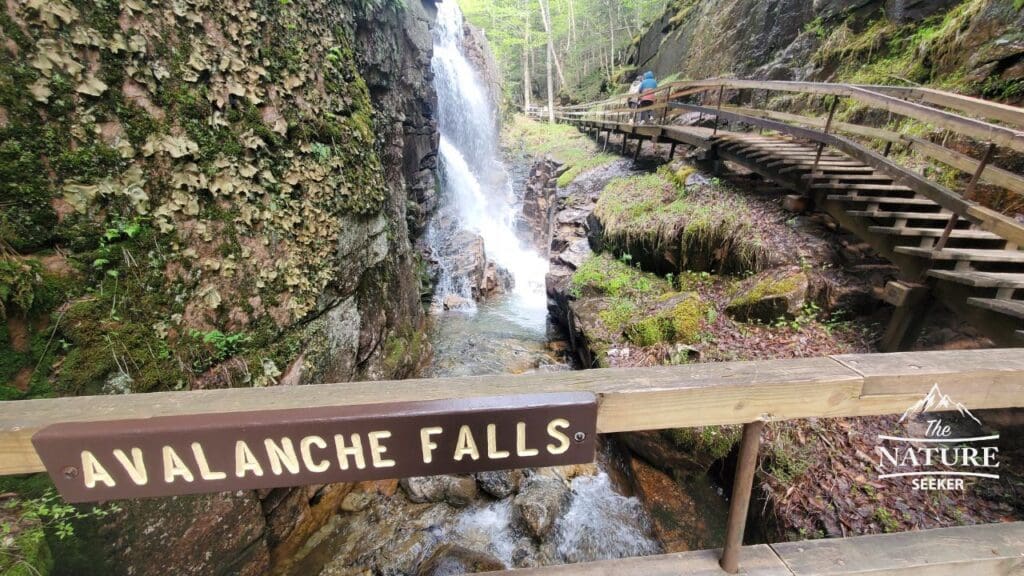
The waterfall is not far from the start of the canyon section of the hike and it is over 50 feet high. After you see it from the boardwalk area, the trail will actually go around and above the falls. Personally I think the waterfall view (as well as that of the canyon) is better on the boardwalk.
7) The next spot on your hike is going to be Bear Cave:
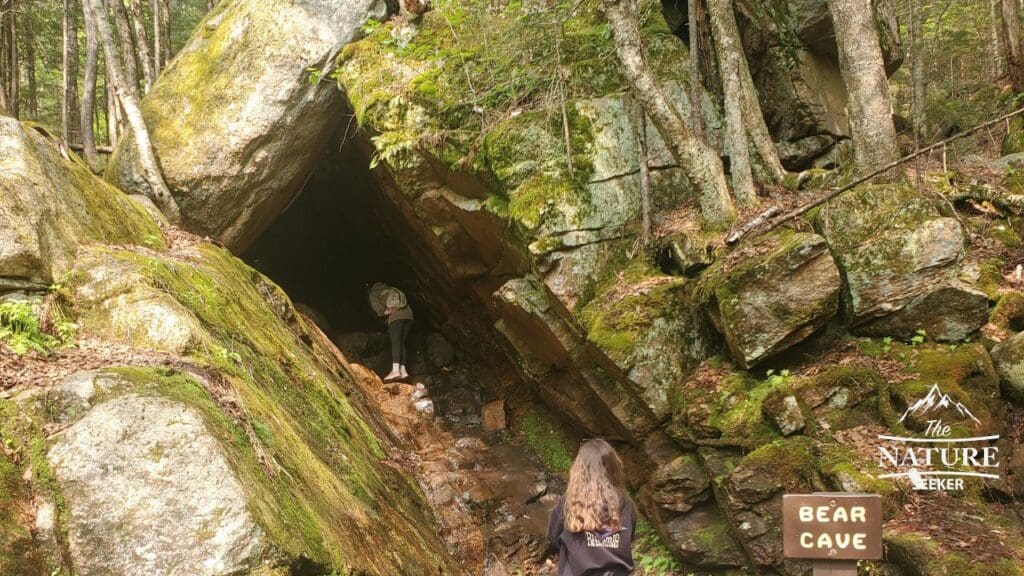
If you’ve never seen caves like this before, then you may like this spot (it’s right behind Avalanche Falls). The cave itself is pretty small but you can go a bit into it. And if you do enjoy that sort of stuff, one of the other places near Flume Gorge you may enjoy also checking out is Lost River Gorge which has plenty of these types of caves.
8) After Bear Cave, the trail turns left and here’s what’s next:
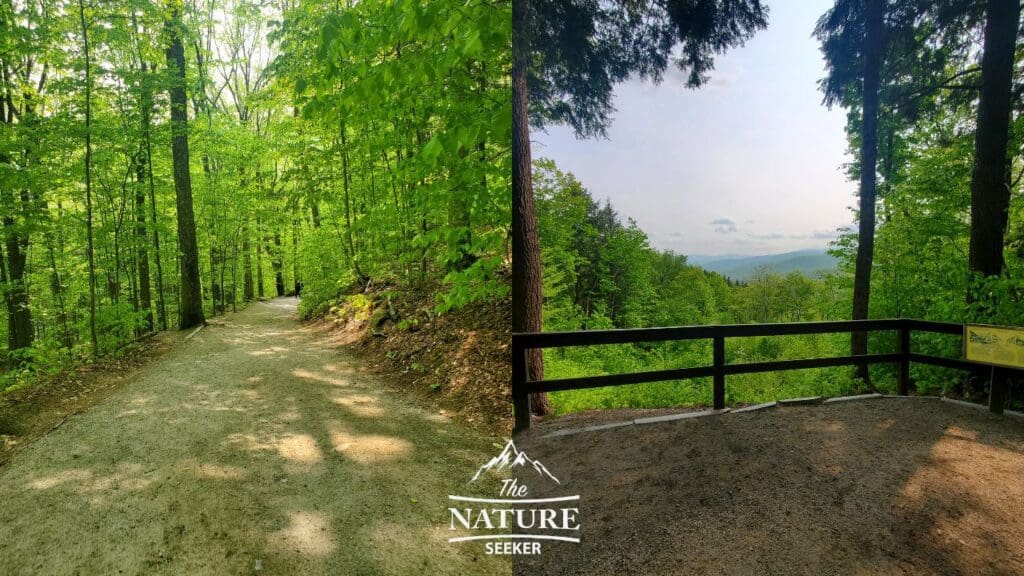
Other than the top of the waterfall I mentioned earlier, you’ll continue on the trail on mostly flat and a bit of other incline areas. You’ll cross a hiking shelter spot and walk down a bit more until you reach an overlook area (the picture above). In my opinion that overlook isn’t exactly grand, but it’s the only one in Flume Gorge from which you’ll see the White Mountains.
9) Passing through the next Covered Bridge on the trail (Sentinel Pine Bridge):
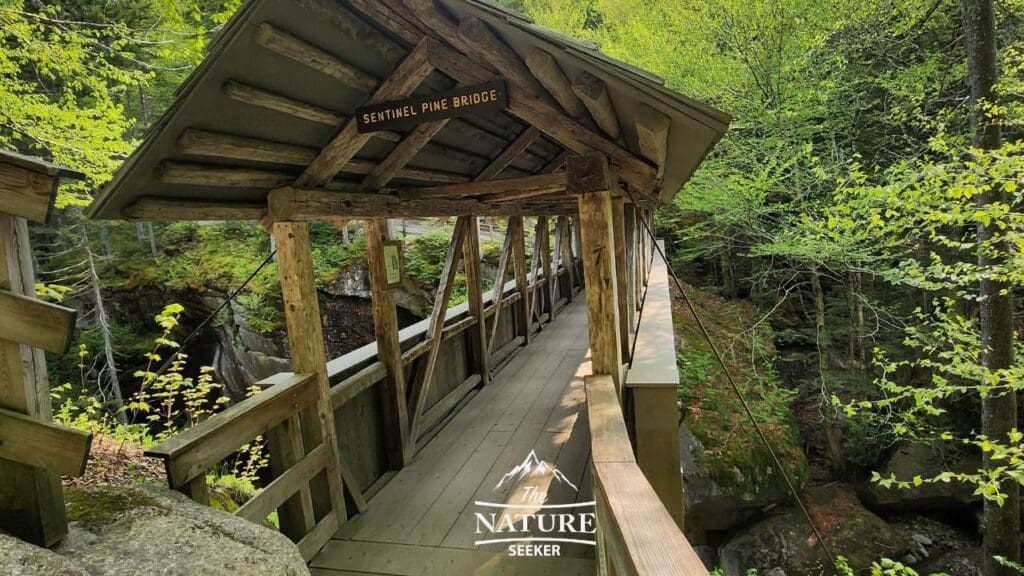
After the overlook area, you’ll continue more downhill on the trail until you pass through another overlook, but of a spot called “The Pool”. This pool also continues to a river, the same one you passed through when you start the Flume Gorge trail.
10) Wolf’s Den, the next great spot to see:
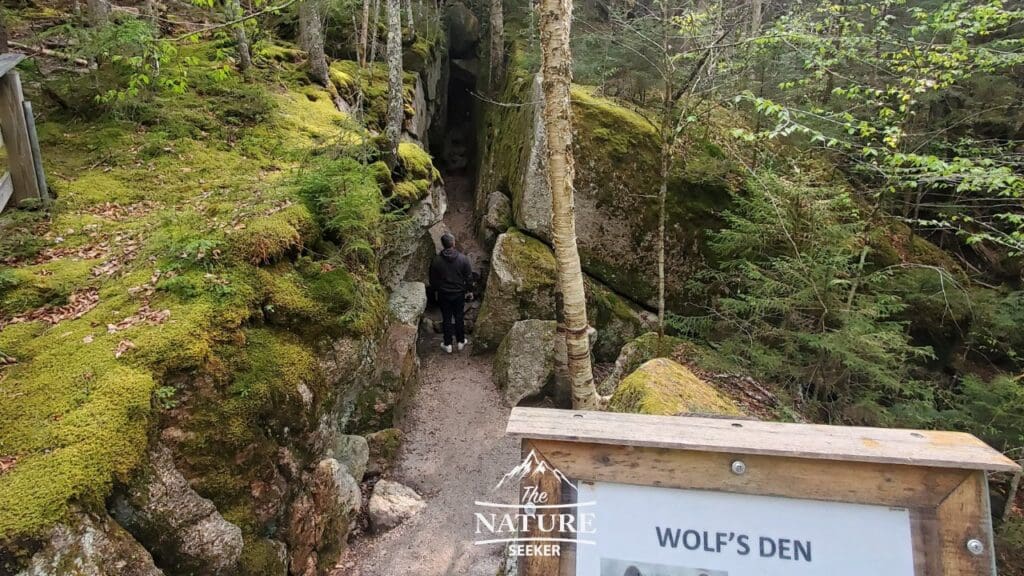
Right after you cross Sentinel Bridge, you will see a place called “Wolf’s Den”. This is a slot canyon with a short cave hike. You can enter it from below and there will be a path to take you up through a different exit there which also connects to the trail. It’s short and a pretty fun thing to check out. Now if you like slot canyons like this, there are many secret ones throughout the White Mountains which unfortunately I don’t know about yet, but there are other parks and places which have them, and here are a few:
- Nelson Ledges State Park (it’s an astonishing park for slot canyon hiking).
- Slot canyons in Utah (there’s tons of them there).
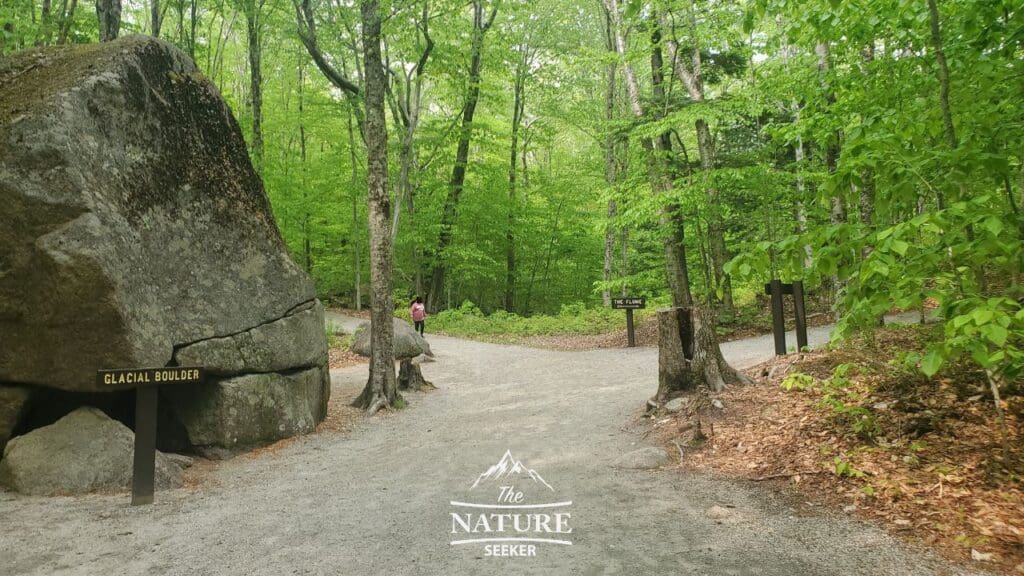
11) Reaching the end of the Flume Gorge trail and Glacier Boulder, the last gem on the hike:
About 1/2 miles after Wolf’s Den, there will be a bit of incline hiking until you reach a place called Glacier Boulder. It’s an OK spot but this is the section after which you’ll turn right to return to the welcome area of Flume Gorge.
12) Finishing up the Flume Gorge hike:
After you return back to the welcome area, I recommend checking out that place specifically to finish up your trip to Flume Gorge. There are nice museum areas in the actual welcome center, plus a nice cafeteria and scenic area right outside of it.
Common questions:
How long does it take to walk the Flume Gorge?
It takes most people about 2-3 hours to hike the Flume Gorge trail which is a little over 2 miles.
Is Flume Gorge worth visiting?
Yes Flume Gorge is worth checking out at least once if you’re visiting the White Mountains.
What is the best time to visit Flume Gorge?
Spring through the fall season is usually ideal to visit Flume Gorge, but I would also recommend going there early regardless of the season.
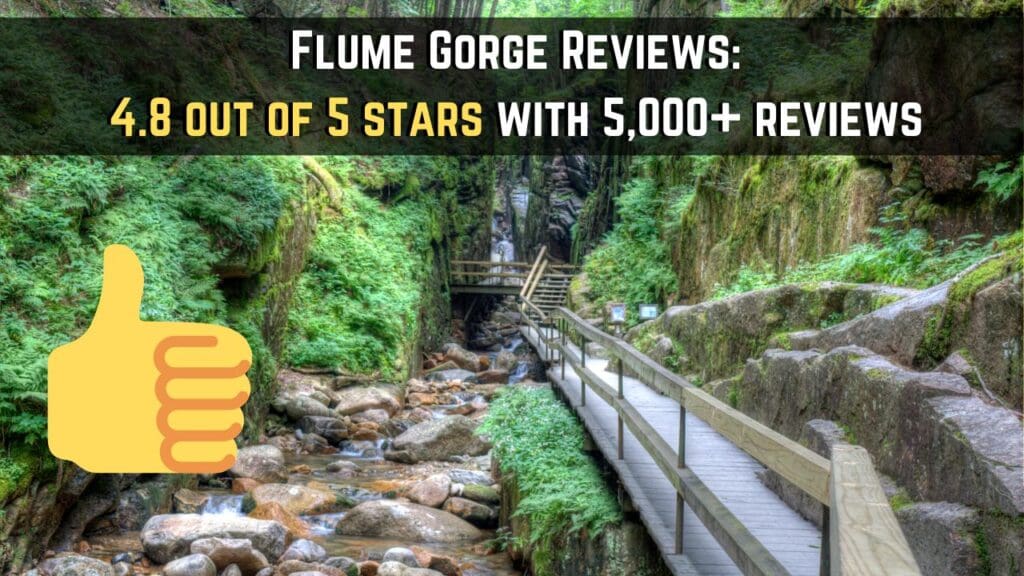
Flume Gorge reviews:
Places to see near Flume Gorge NH:
If you end up visiting Flume Gorge, I hope this article helps you enjoy this place but to also not forget about how many more awesome sights are right by it too!

Did I miss the Pool and boulder field?
The Pool is located near the Sentinel Pine Brige. The Boulder “field” I think isn’t actually that, it’s just a few large boulders that are seen around the start of the Flume Gorge hike.