13 Ausable Chasm Photos With Exploration Tips
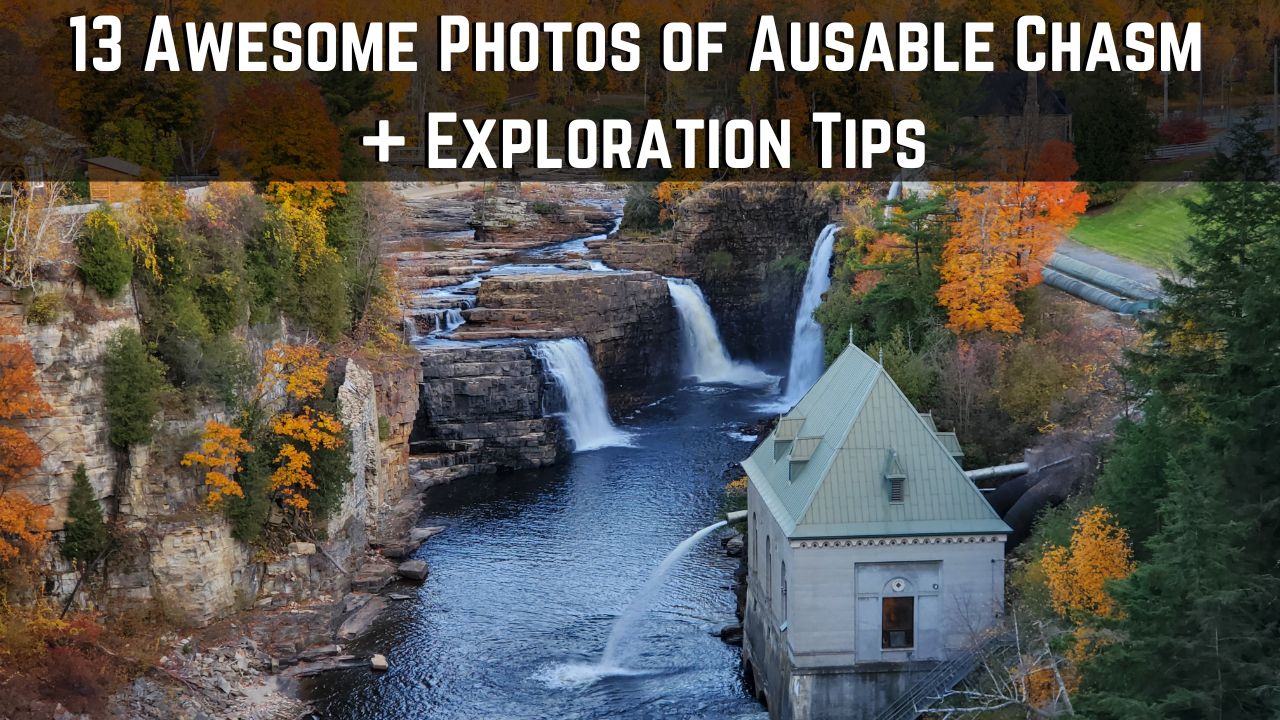
After taking 100s of Ausable Chasm photos via several trips to this place, I still come back and take many more and besides sharing my favorite ones with you in this post, what I also want to do is give you a perspective on what to expect from a visit to this area if you’ve never been here before.
There’s actually free and paid ways to see Ausable Chasm and obviously the best and most interesting experiences will come from the paid options (there’s more than 1), but these photos of Ausable Chasm will help show you where to go depending on which specific attractions you wish to check out there.
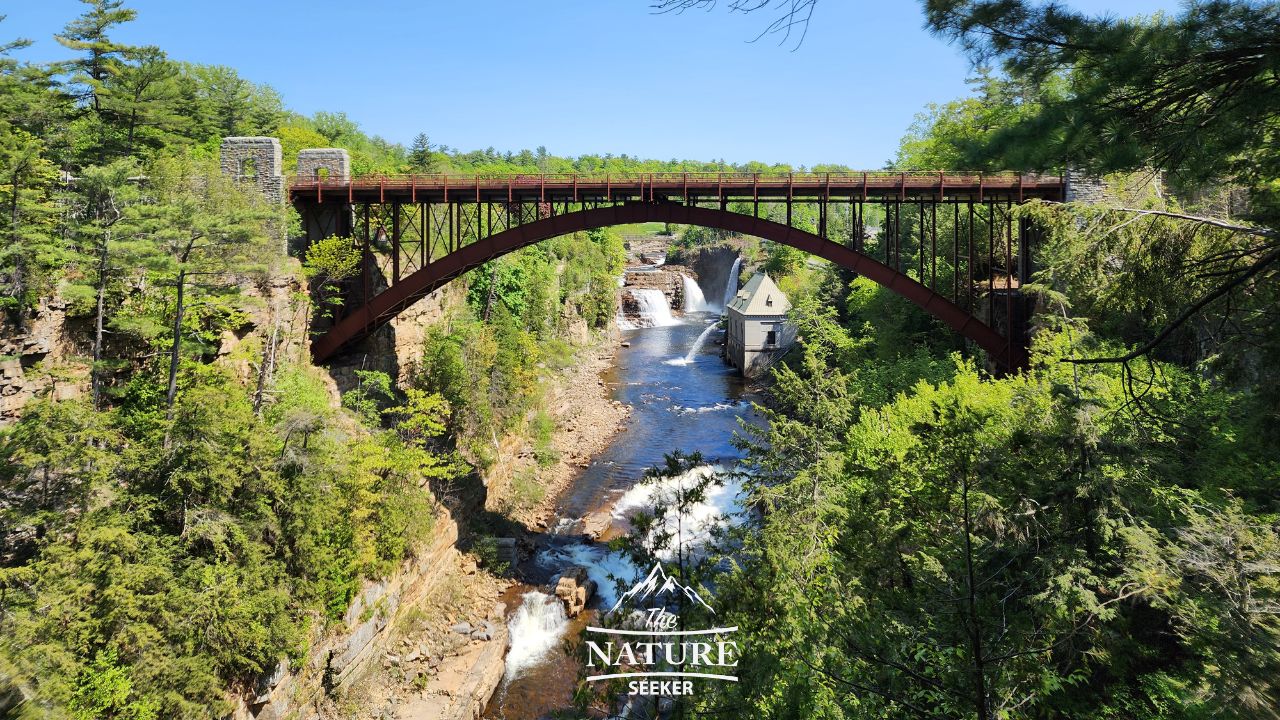
1) Here’s the 1st Ausable Chasm photo I want to share with you:
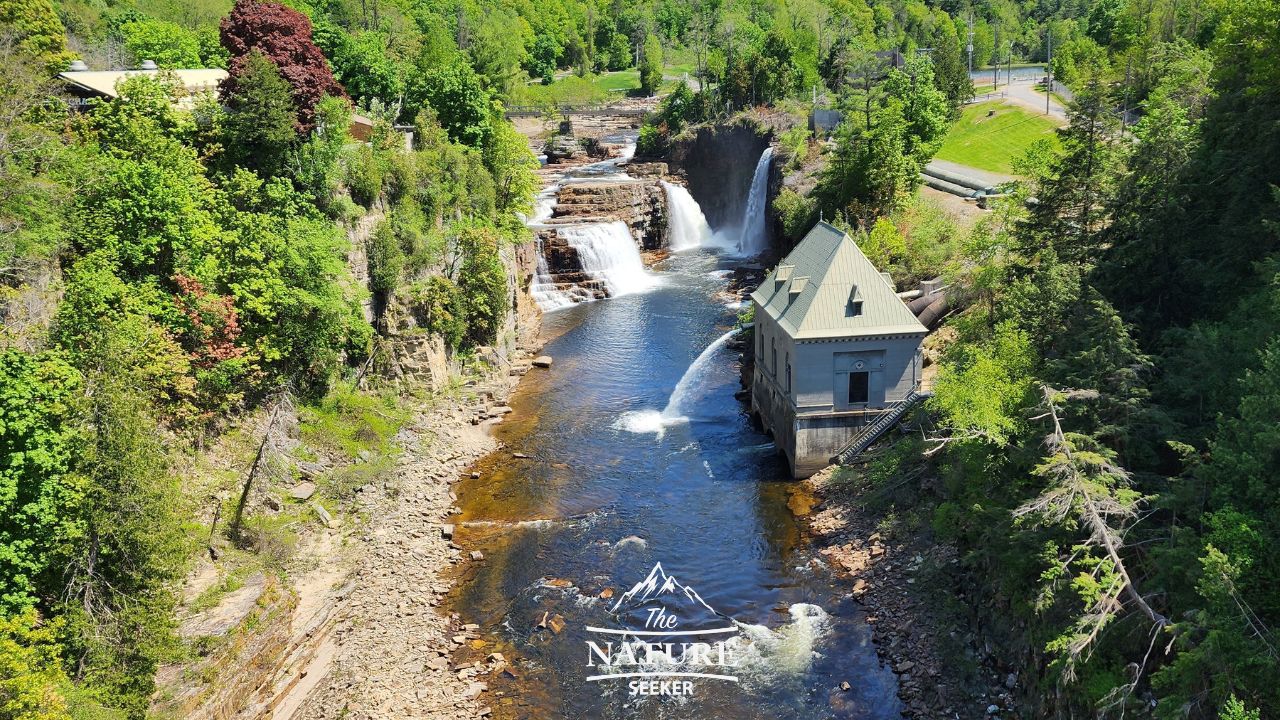
This was taken on top of the Rainbow Bridge which you can actually walk on for free. In the distance you’ll notice the 3 waterfalls. This is called Rainbow Falls and these waterfalls merge togther into the Ausable River which runs underneath that bridge and continues further into the gorge which you can enter, but you do need to pay to enter that area.
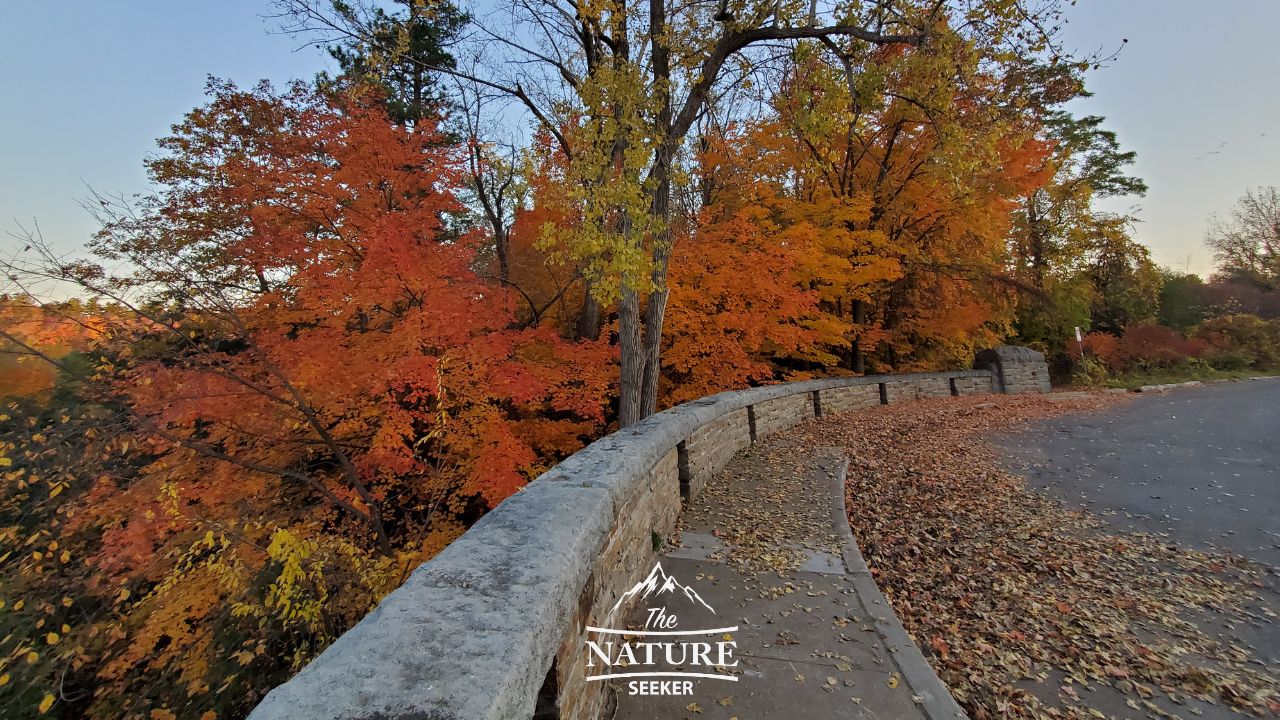
Besides that I do also want to recommend the parking area where you stop to walk over the bridge because there are a few beautiful spots there to take pictures from, especially during the fall. Here is one of those photos:
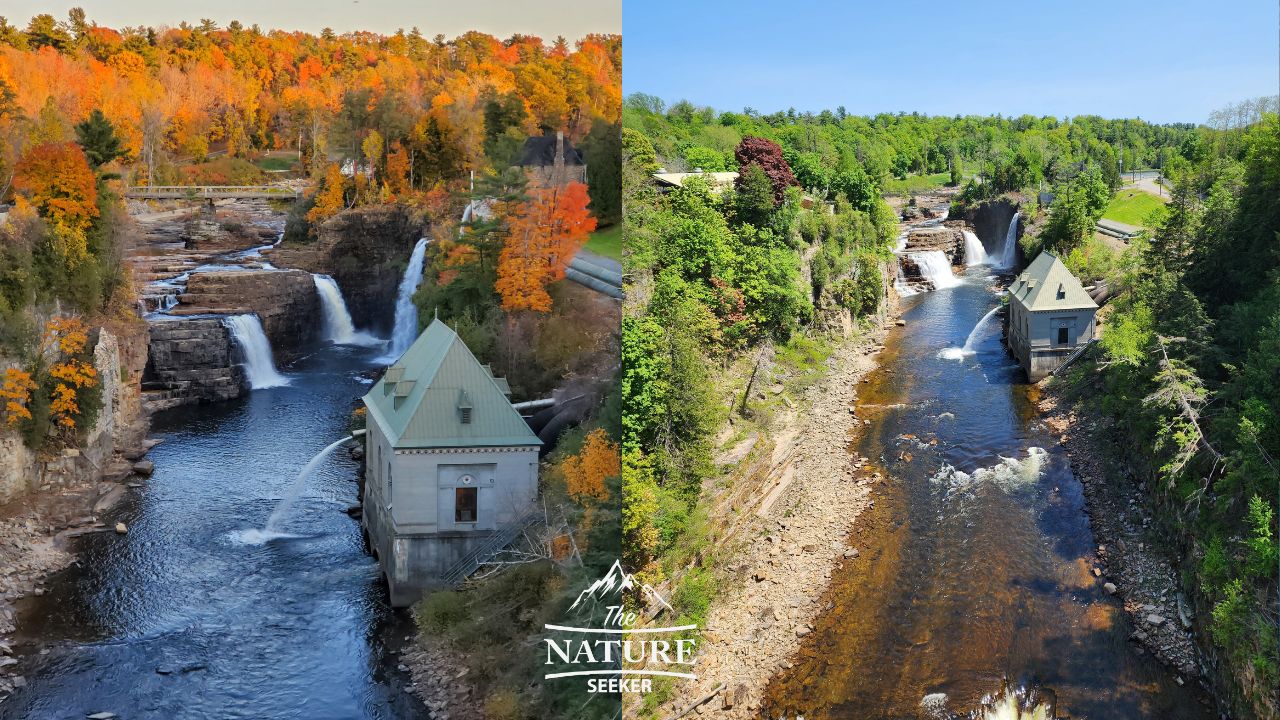
Now aside from that I’ve also been very fortunate to see Ausable Chasm in the fall and here are 2 photos comparing the looks of it from the same bridge viewpoint (I’d love to know which one you like more below):
To the left of those waterfalls is the welcome center where you can buy tickets and also get food or gifts. There’s also a minature model of the area that I recommend seeing as well because it’ll give you a good perspective on how the whole area is shaped. But in any case this is where you’re going to want to go if you wish to see the inside of Ausable Chasm. I also want to mention that these waterfalls are some of the best waterfalls in New York and more specifically one of the top waterfalls in the Adirondack Mountains (which is close to where Ausable Chasm is).
2) Elephant Rock:
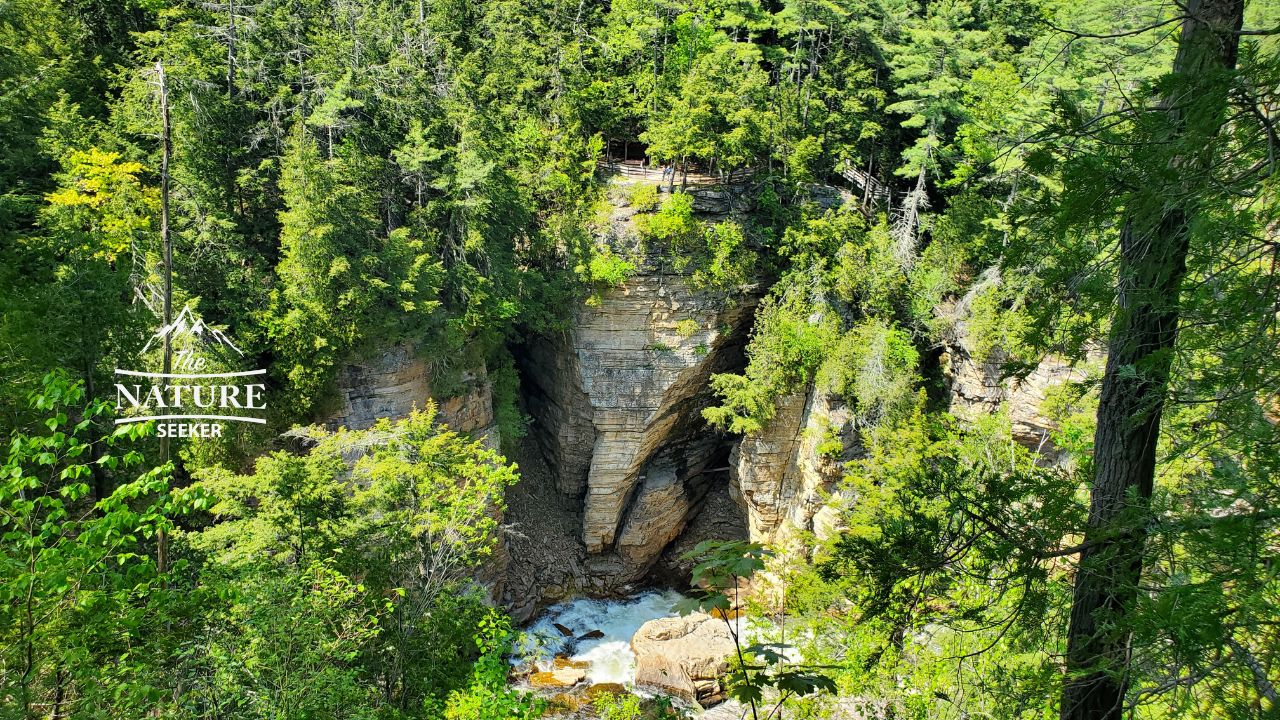
This is another popular Ausable Chasm photo you may see out there. Getting to this area is easy. Once you pay your ticket, there’s an option to start on what is the yellow trail right by the ticket area inside the welcome center. Take that and follow it to it’s end (it’s not long) but it’ll bring you to an overlook of Elephant Rock. You’ll notice people standing above Elephant Rock there to give you perspective of how high the actual rock formation is in addition to the height of the cliffs to the river (it’s about 100 feet).
3) More Ausable Chasm photos from the yellow trail:
The yellow trail extends to both sides of Ausable Chasm and I strongly recommend you explore it fully. While it starts on the side with Elephant Rock (and that’s also where you have another paid attraction separate from it), it’ll extend past Rainbow Bridge and into the other side of Ausable Chasm and this is where you’ll see the most iconic sights. Let’s start with the overlook:
This overlook is similar to the one above, but it’s underneath and behind the bridge area, giving you a very different perspective of Rainbow Falls. The good news is that this place is on a boardwalk with viewing area so it’s easy to see.
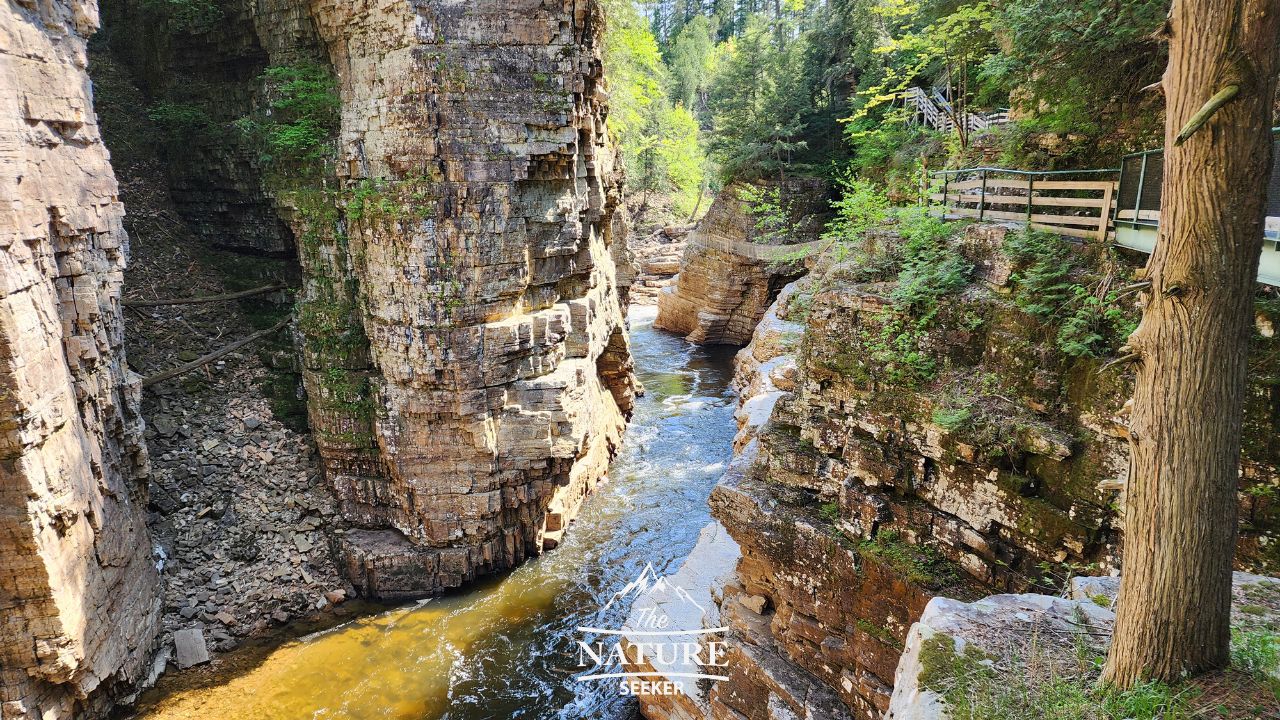
Next up is photos from the bottom of the gorge which is stunning to see, but also where the hike gets a little uneven, especially around some small bridges you’ll cross. The good news is that there are railings in the area so you’ll be OK but there are many picture opportunities from this area of Ausable Chasm worth checking out, including this one:
Here’s another picture I took from this same trail (you may notice a skinny bridge crossing on the right side of it). That’s an example of some of the types of bridges you’ll cross on this trail:
4) Photos from the raft ride:
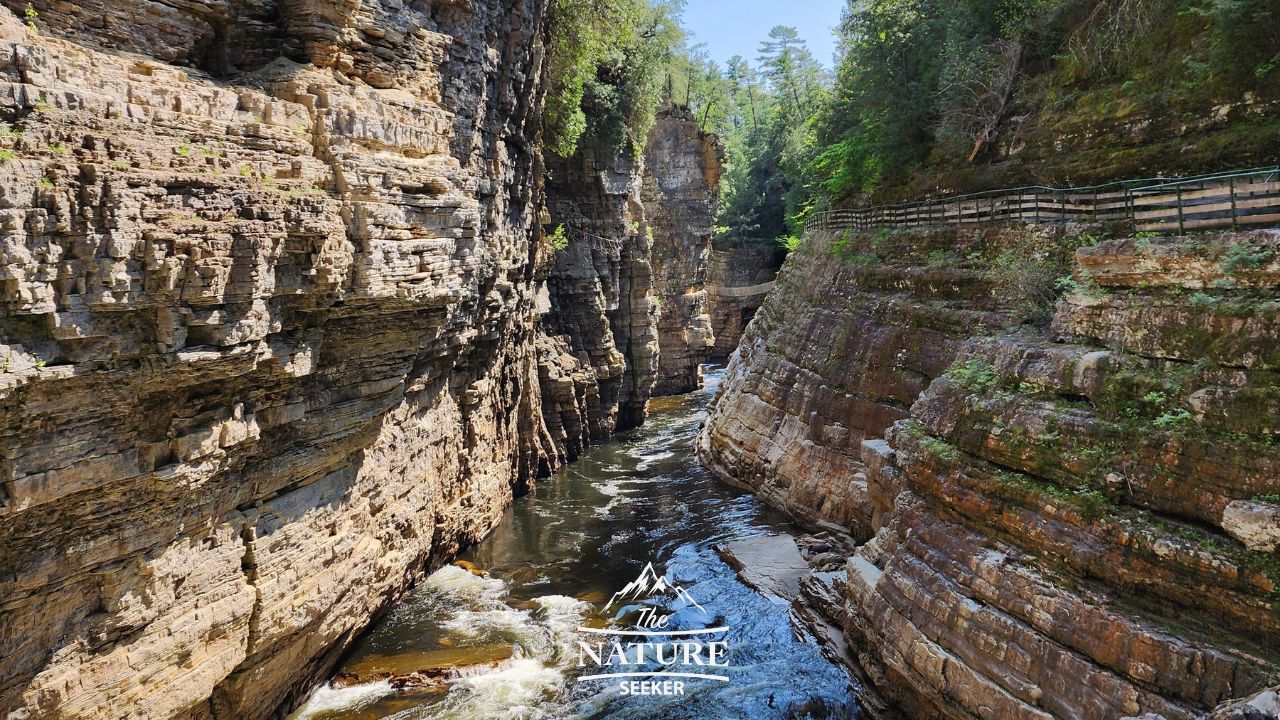
If you didn’t know, one of the most popular things to do in Ausable Chasm is to check out their raft ride which conveniently is available at the end of the yellow trail (it’s a guided tour). Although it is optional to do, I also highly recommend it not just because of how fun it is but also because there’s many photos you can also take there. Here’s one of them:
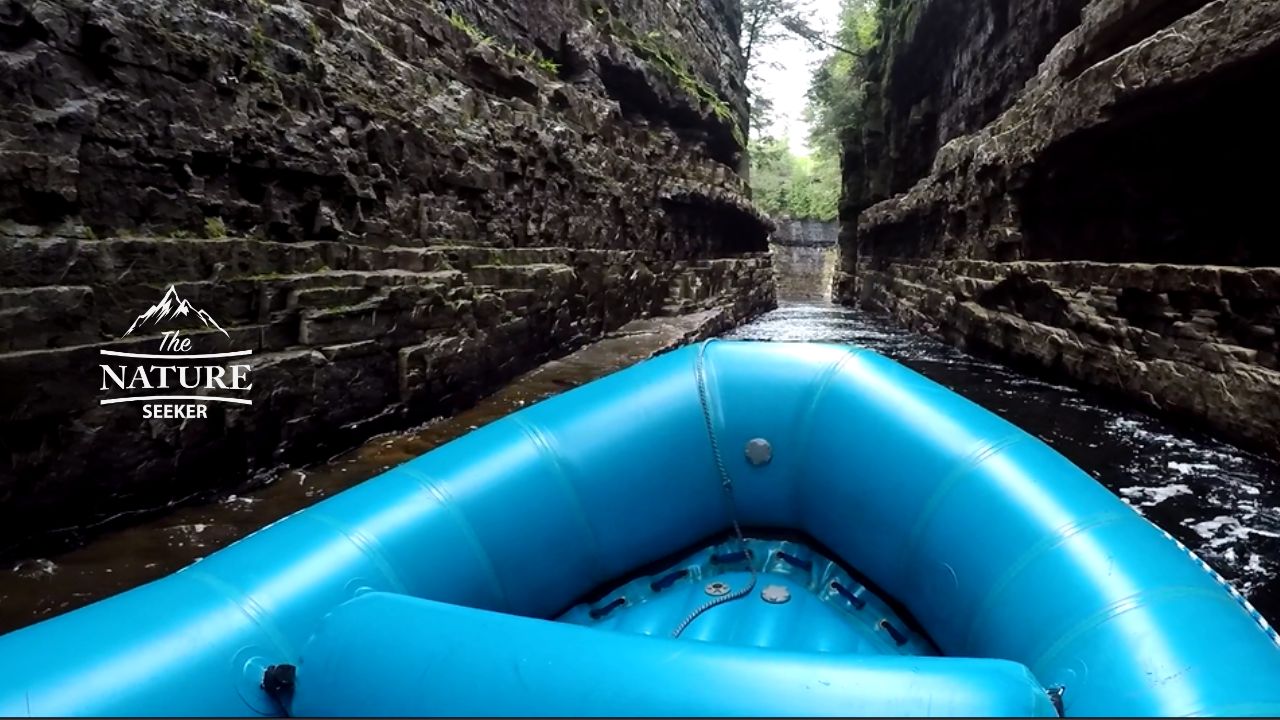
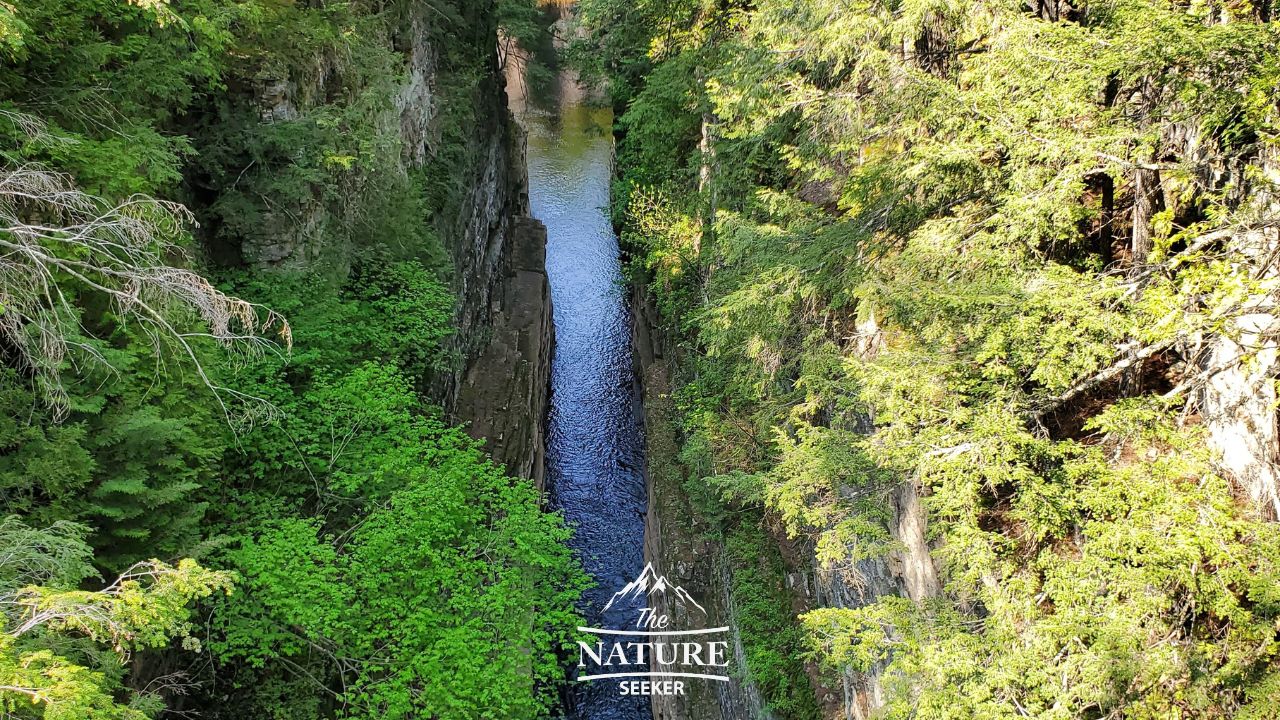
The picture above is from the start of the raft ride where you are flowing down the Ausable River through the narrow gorge. These aren’t the best photos of Ausable Chasm I took because it was on an action camera at the time and it was a little shaky, but it’s still enough to give you a good perspective on what it looks like. You can totally see that same area from above, but the views on the raft are 100x better. Onto the next photo:
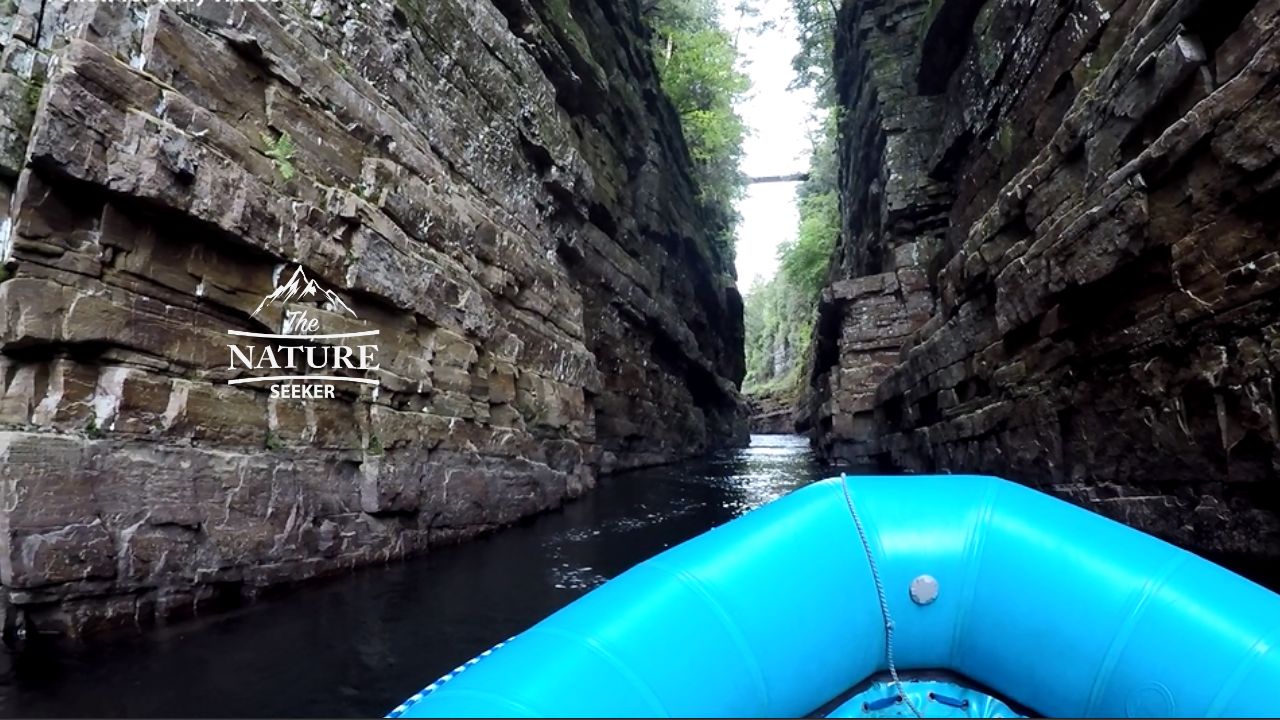
In the above photo, the tour guide turned the raft around to get a different view of the canyon and this is where you may notice a really awesome “illusion” and what I mean is that the water looks like it’s slanted against the walls or vice versa when in fact, the canyon walls of Ausable Chasm are getting higher as the raft continues downriver. Now there’s one more photo of this raft ride I want to show and that’s this one:
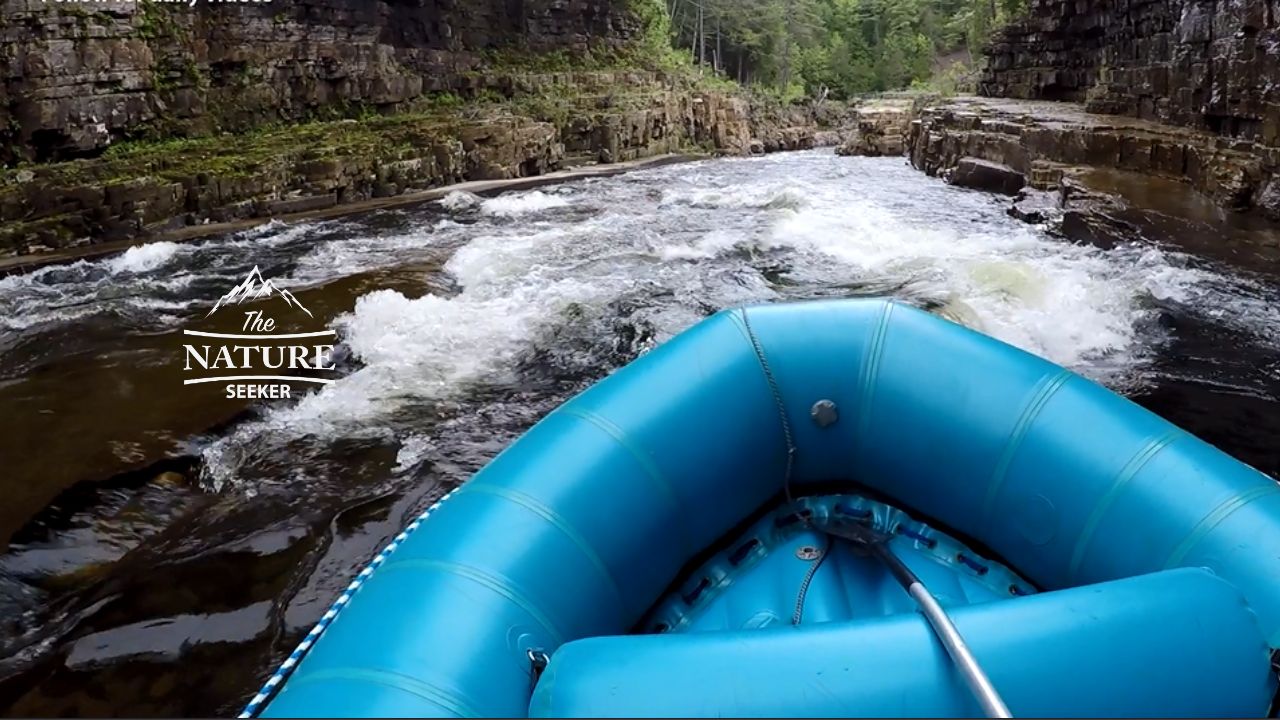
This is from the next stage of the raft ride, which after going through the narrow canyon, it opens up into a low level white water ride. I wouldn’t recommend taking any photos here because of how bumpy it is, but to rather just enjoy this part of the ride. It’s very short and once it ends, the ride becomes very mellow again and shortly after that is when you will disembark and have 2 choices to return back to Ausable Chasm:
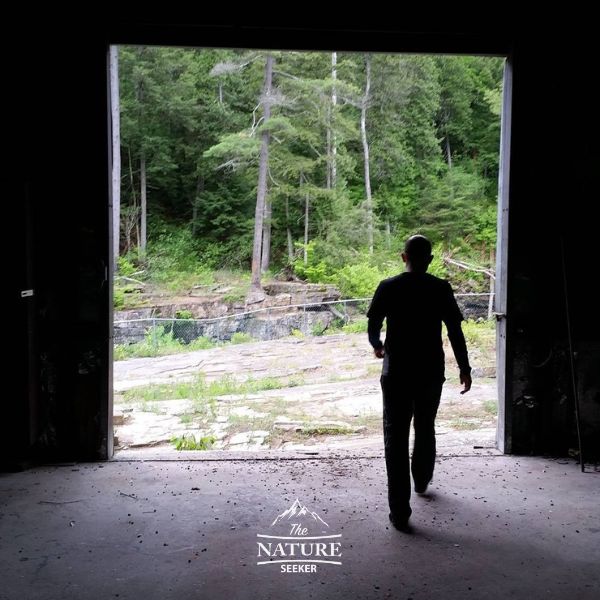
- One is to use the shuttle (easy).
- Hike back to the beginning (short, easy hike and it’s somewhat scenic). If you do use the second option here’s a photo from that hike:
You will also have an option on the trail back to the entrance to cross one of the bridges that oversees the canyon where you can look down to see other raft rides coming through:
One thing I will say is that if you are tired from the previous hike and raft ride, to just take the shuttle back (if it’s available) because while the trail back to the welcome center is not bad and you can actually cross the bridge to return back from the other side of the canyon, it isn’t as scenic as the canyon trail or raft ride in my opinion, but if you have the time and interest you can totally do it.
2 more recommendations (things to see next):
If you think Ausable Chasm is the only good place to check out in this whole area, then I promise you it isn’t! Here’s a few quick recommendations:
1) See more spots in Lake Champlain. The good news is that Ausable Chasm is literally 20 minutes from it and there’s tons of sights across that amazing lake to check out.
2) There’s some amazing hikes in the Adirdonacks worth checking out about 30-45 minutes from Ausable Chasm and some include the Avalanche Pass Trail and others throughout road 73 (there’s lakes, waterfalls and hiking trails there). If you’re going to check that area out, I’dhonestly I’d save an extra day for that because it’s better to spend most of your first day in Ausable Chasm in my opinion.
But other than these recommendation, getting back to the main topic, these are all photos of Ausable Chasm that I’ve taken from at least 5-6 different visits over 10 years there and I hope that you enjoyed them! I’ve included a link above for more things to see in Ausable Chasm as well.