15 Amazing Arches National Park Photos
After seeing so many breathtaking Arches National Park photos online, I not only became very intrigued in wanting to visit this place too but to also get my own experience and footage of the area.
And I am happy to say that I so far have gone there twice and taken what I consider many amazing photos of Arches National Park that I want to show you in addition to important details like the locations, important things to know about every photo and more.


 At the same time, you can actually get a great photo of both the South and North Windows Arches and the best angle of that is actually close to the parking area, as you start on the trail to get to North Window. Here is what that looks like:


 Just to be clear, while I recommend you do this hike, you can also see similar and amazing views by just driving on the road deeper into the park and then exiting the same way back for a different view of it and it’s one of the best scenic drives in Utah. But I do recommend doing both the scenic drive and the hike if you can, and on the trail subject this is one the best hikes in Utah! Here’s one more photo from the drive back to the entrance of the park once I was done exploring it:


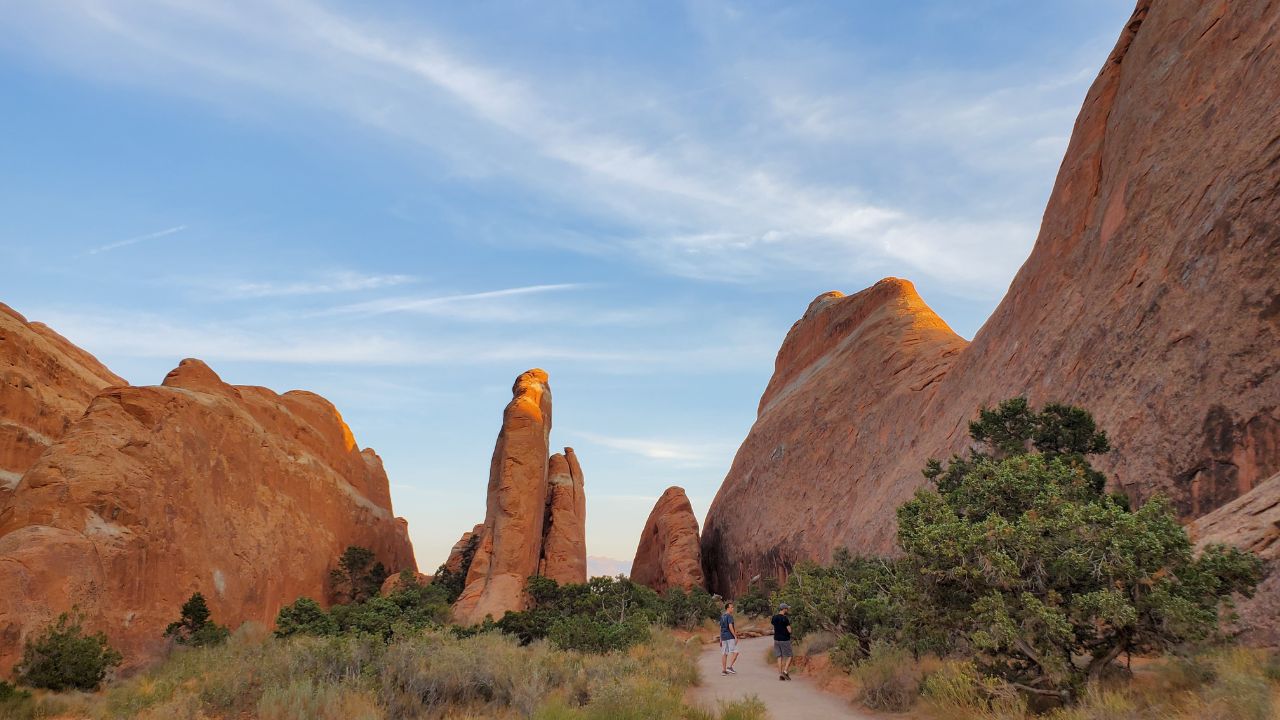
 That specific spot is about 500 feet from the parking lot. The further into the trail you go, the less of these cliffs you will see but there will be occassional arches and moderate level hiking. Here is another angle of those red cliffs and the amazing pink sand you see there:


1) Double Arch photo:
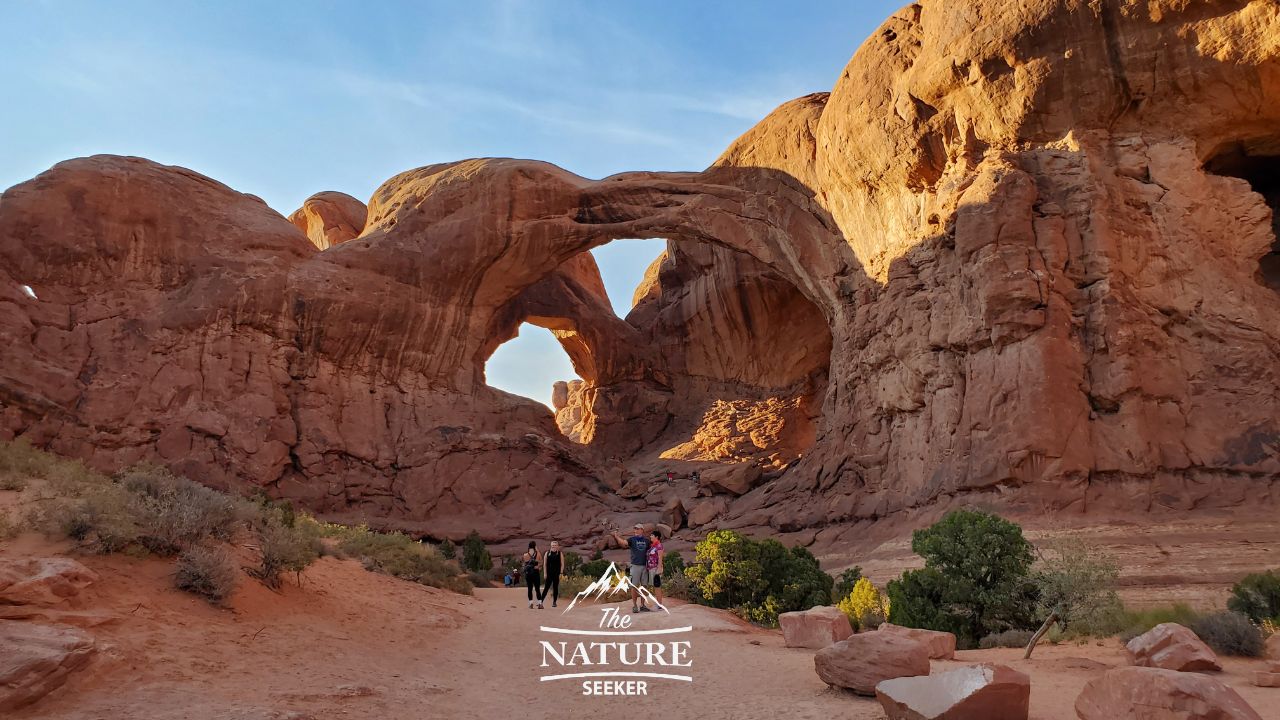
Photo details:
Double Arch is one of my favorite places in Arches National Park. Reaching this area in the park is not difficult at all either. You just have to take the Windows road within the park to it’s end where you will find a parking lot. The great news is that the Double Arch is very close to that parking lot (it’s only 1/4 mile in and out) as are a bunch of other ones to the other side of it. For the best photo angles, I recommend taking it from the parking lot, close by (where I took it) and from the Windows road where you’ll see the Double Arch from a different angle alongside another gem which is called the Cove of Caves (it’s right by it). Another great spot is between the Double Arch and the parking lot where depending on the light, you can get amazing photos of it too. Here is an example: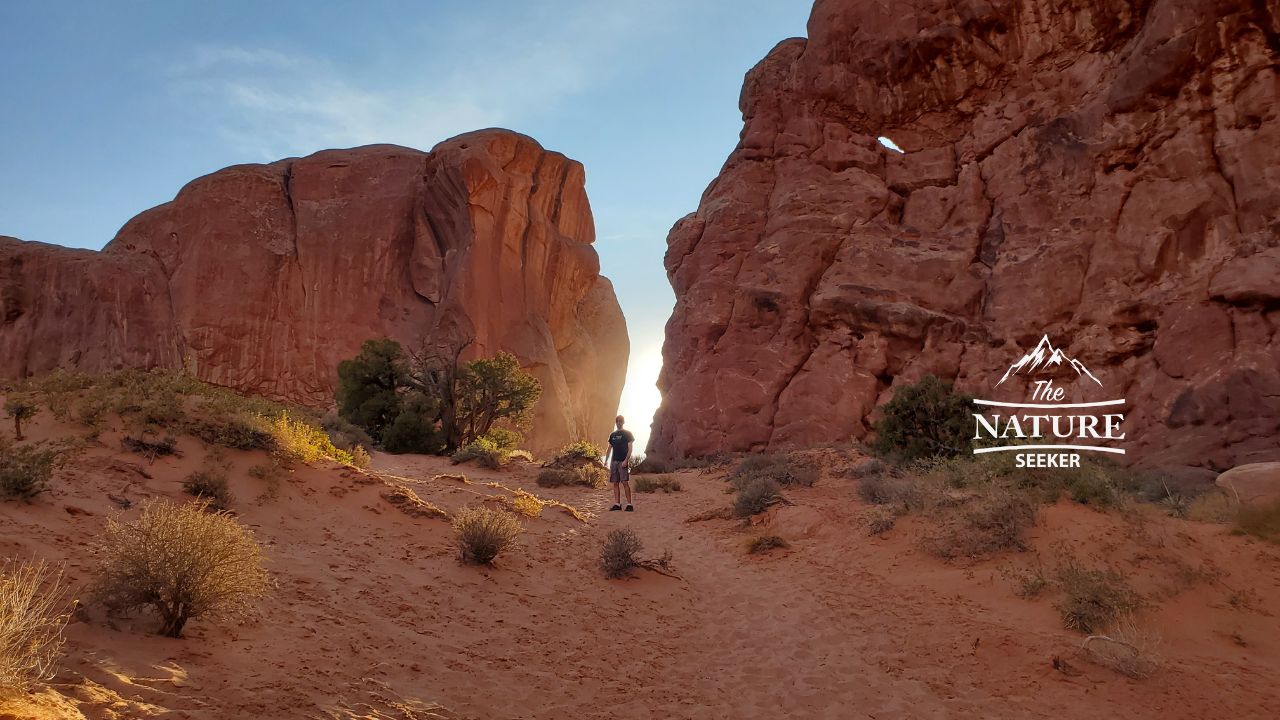
2) Turret Arch photo:
Photo details:
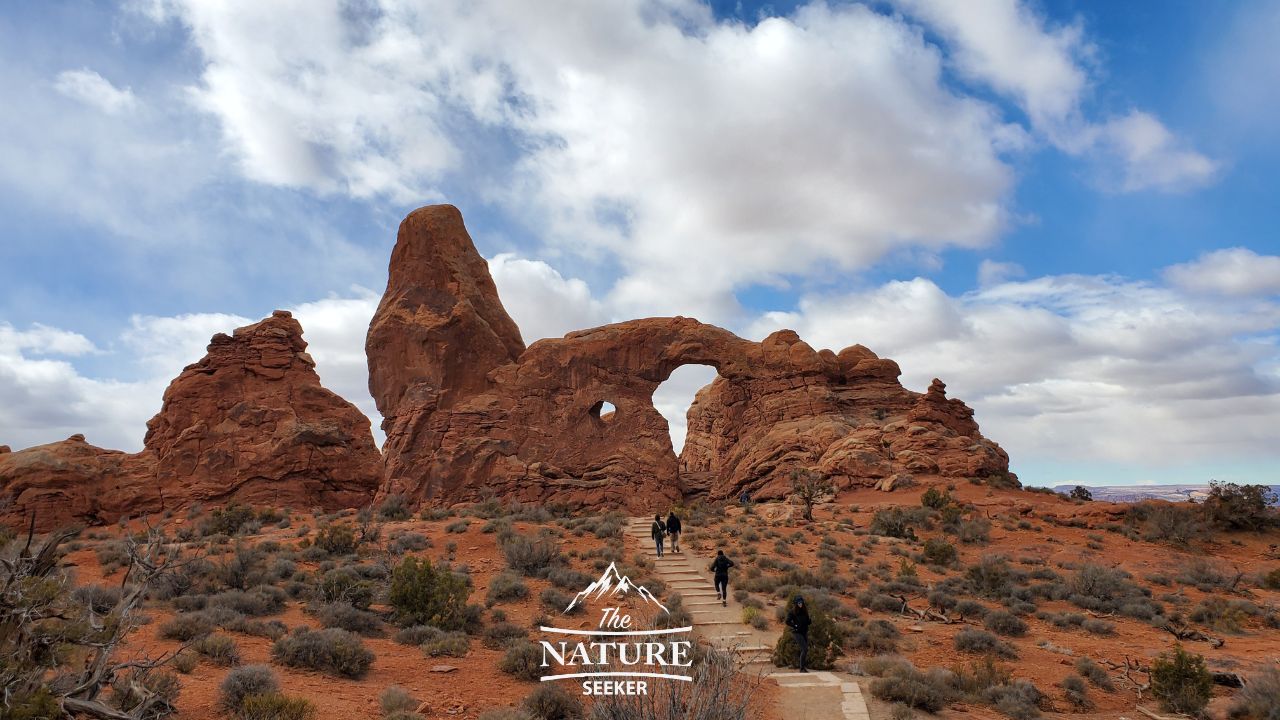
Turret Arch is located close to the same parking lot that leads you to Double Arch and the hike to it is even closer. You can walk underneath it and take a trail from behind it, then around it and see 2 other arches in the area (North and South Window Arches). Turret Arch isn’t as impressive as some of the other major ones in the park but it is very photogenic before you enter it and what’s even better is what’s behind it which are beautiful rocky canyon walls that somewhat resemble the kinds of things you see in Bryce Canyon National Park. Here’s another picture of that (closer):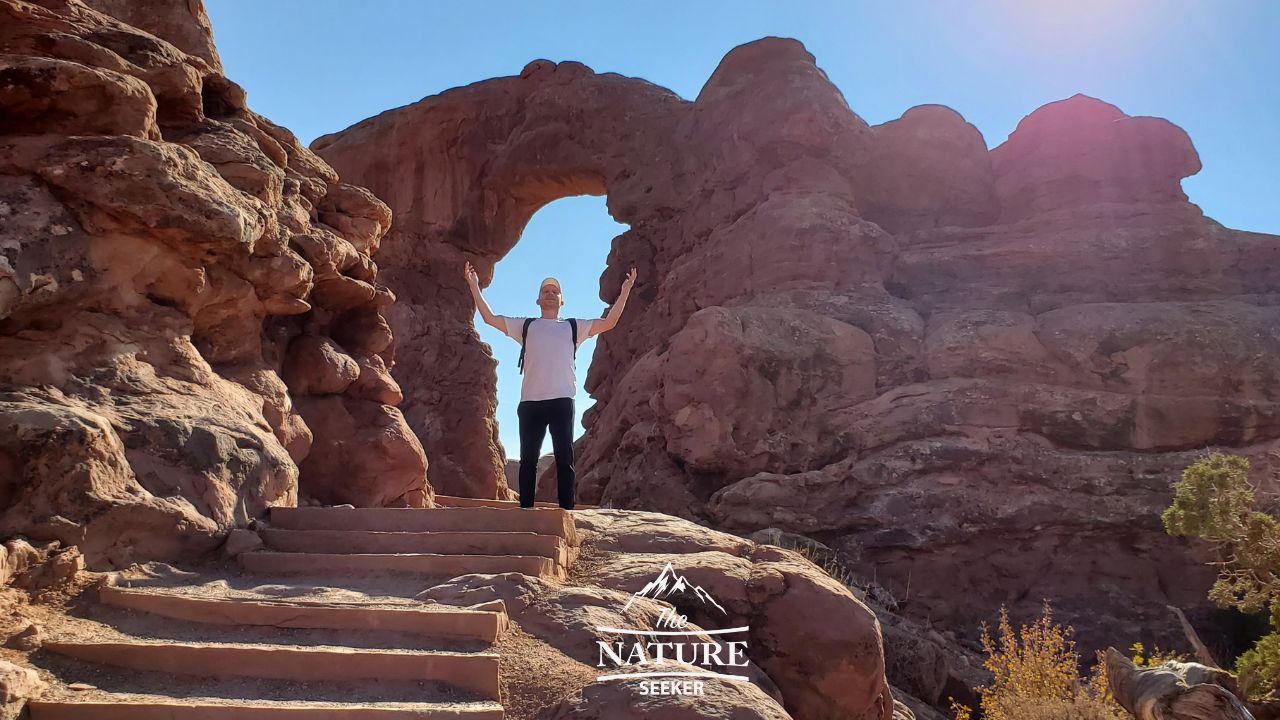
3) South Windows Arch photo:
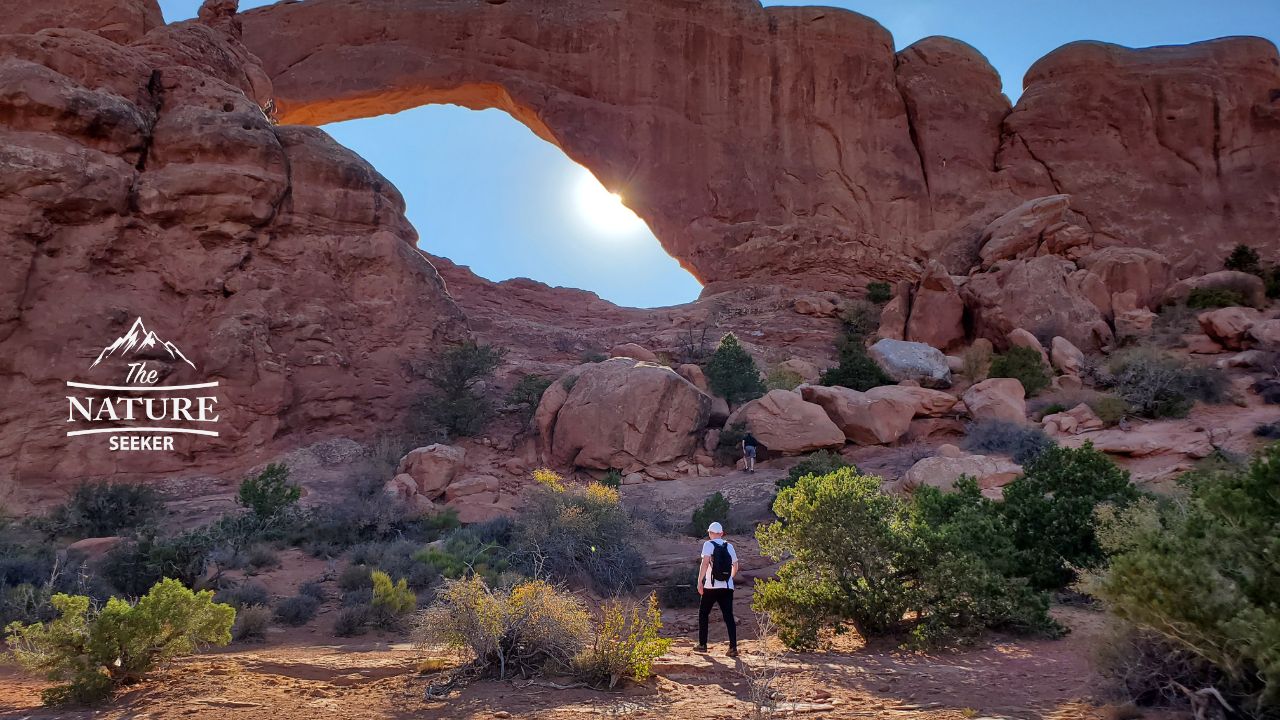
Photo details:
This and the next spot (North Window Arch) are all next to the same parking lot from the previous 2 photos. The best way to see this arch is to take that trail I mentioned above from the Turret Arch which takes you behind the South Windows Arch that you see above. You can also get a decent view of it from the parking lot and Turret Arch area.4) North Windows Arch photo:
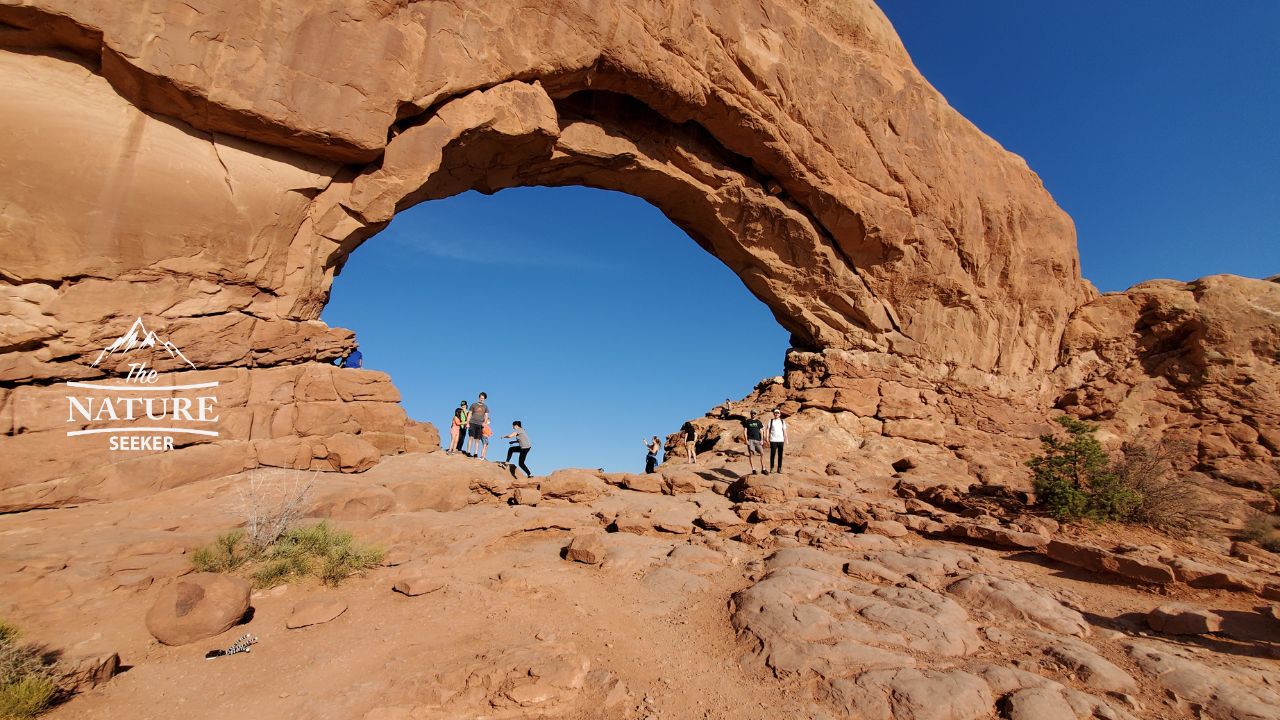
Photo details:
Once I was done viewing the South Arch, I continued on the trail which circles back around to the parking lot, but from it there is a stair trail to take you underneath the next place which is North Windows Arch. It’s about as large as the South one but the benefit is that you can see it from more angles and as a result take more photos of it too. Here is another angle of that same arch: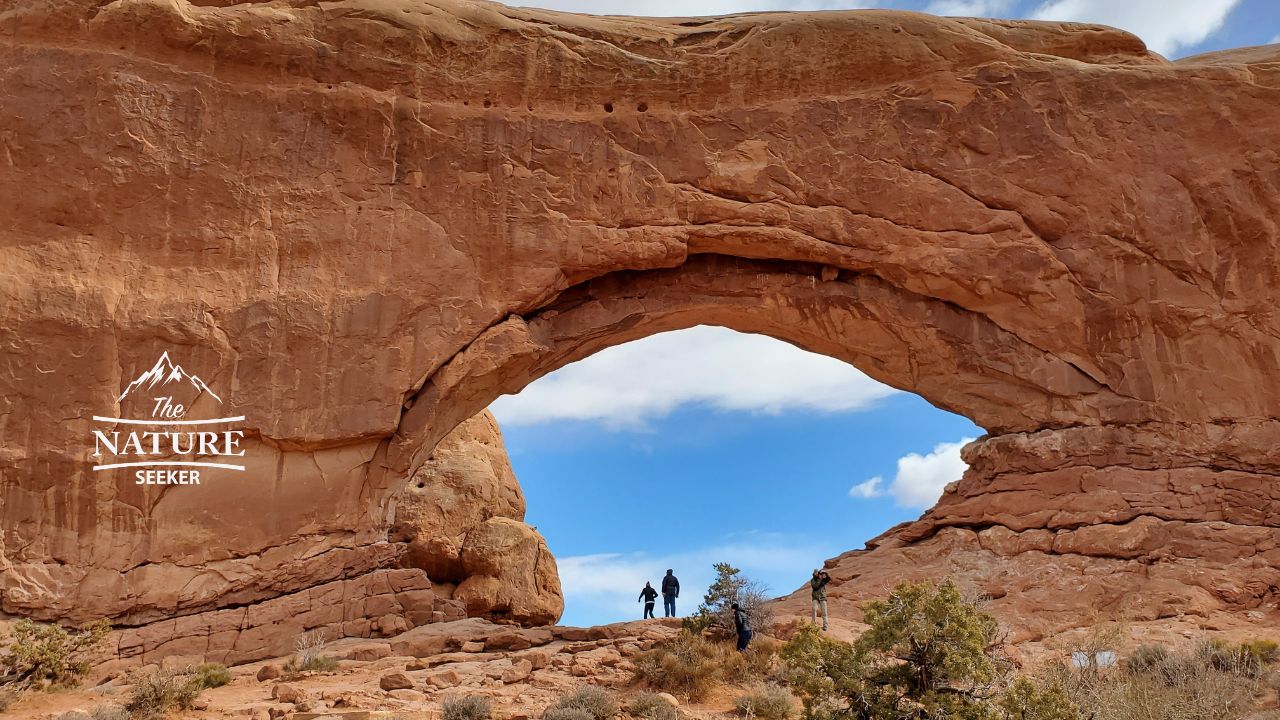 At the same time, you can actually get a great photo of both the South and North Windows Arches and the best angle of that is actually close to the parking area, as you start on the trail to get to North Window. Here is what that looks like:
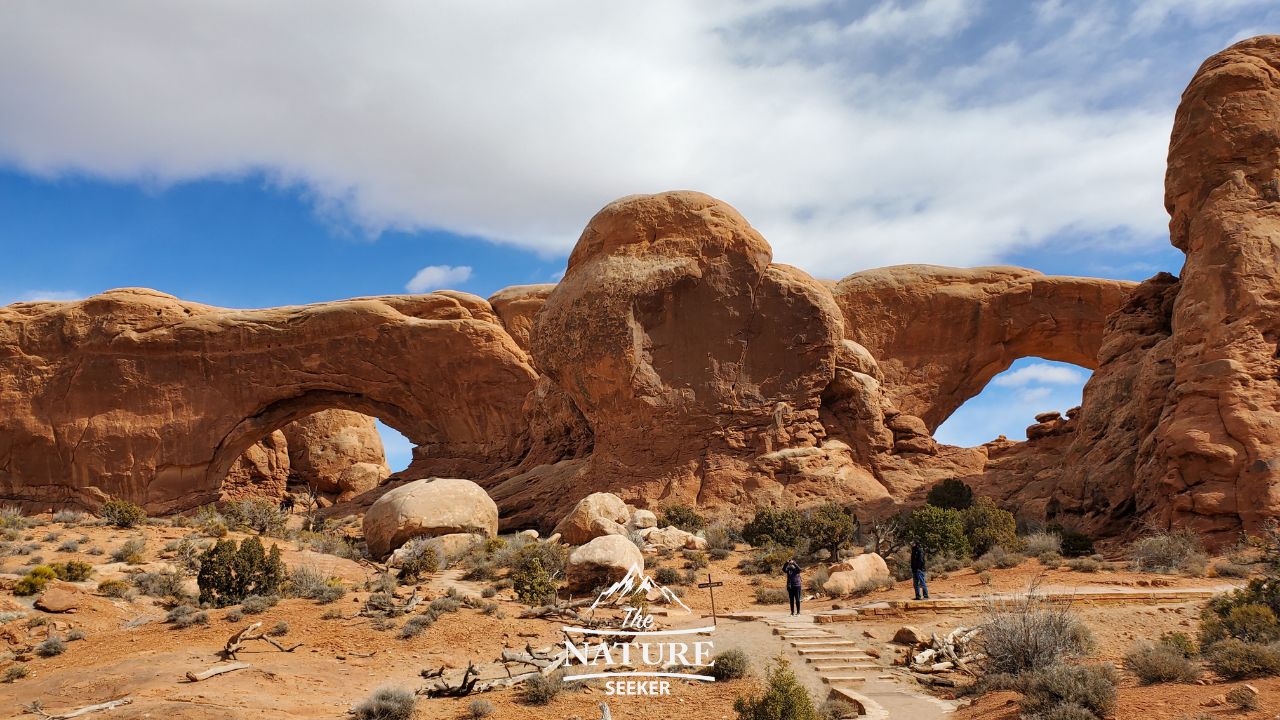
5) Garden of Eden:
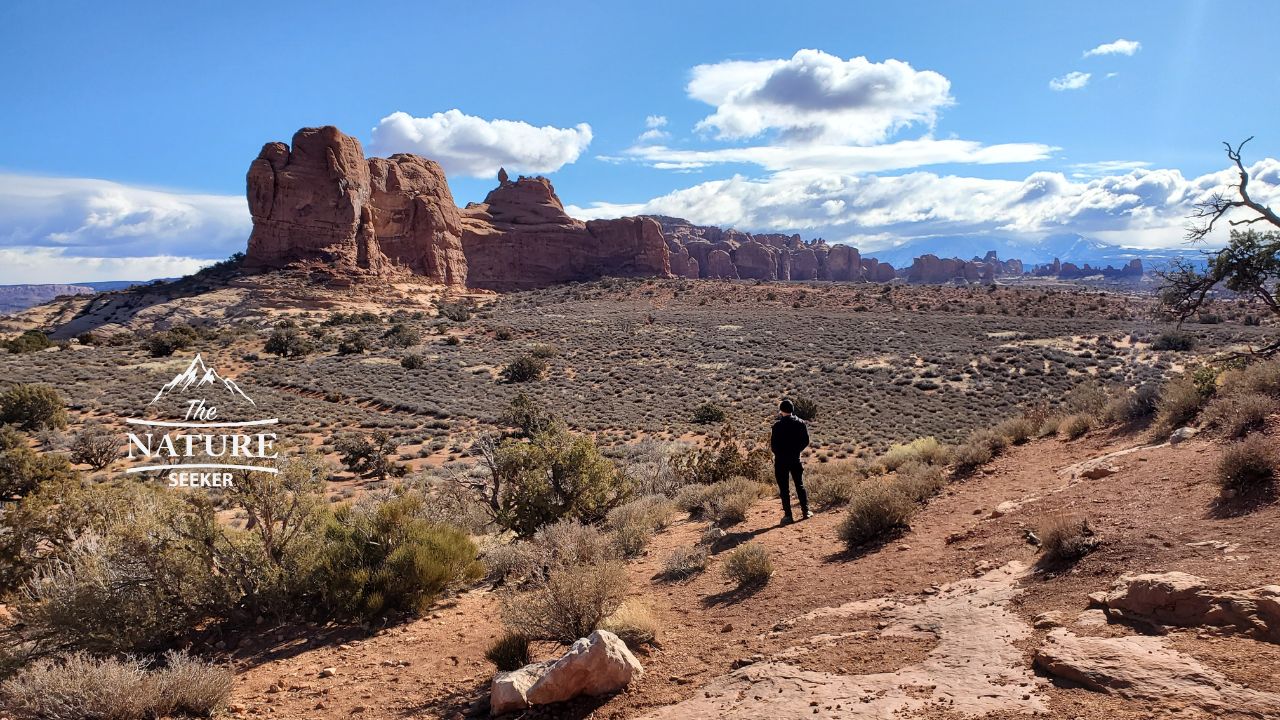
Photo details:
This is an easy to miss none arch attraction in the park but it’s worth seeing as it has a beautiful balancing rock and a great overlook which you can see a photo of above. Within the Garden of Eden, there is a very short walk/hike around the area that I strongly recommend taking and despite it being very short, you’ll have a bunch of photo angles available there.6) Park Avenue photo:
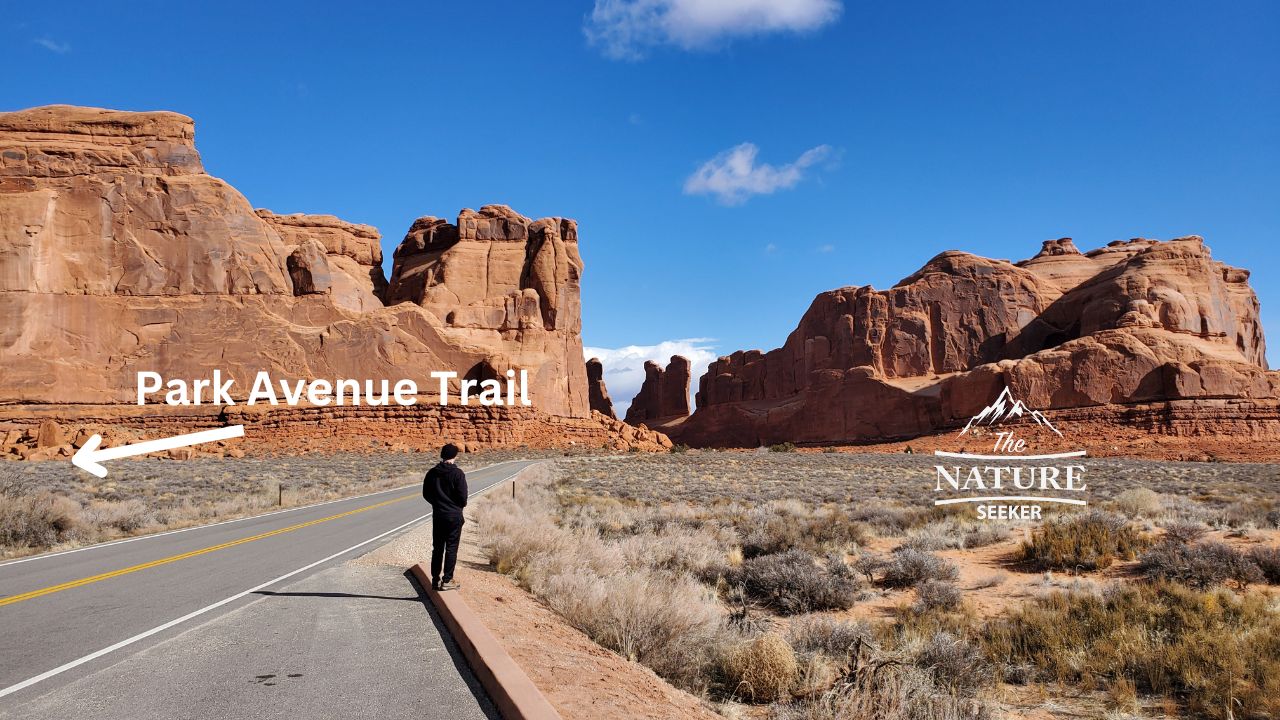
Photo details:
The following picture you see is me standing on the main scenic drive close to the entrance to Arches National Park. In my opinion this was one of the best overlooks I ever saw in the park and besides that, there is an awesome trailhead to my left called Park Avenue Trail which is only about 2 miles and it takes you through those mountain areas ahead of me. I only later learned about this trail and have yet to do it, but I found a photo of it to give you an idea of what’s inside the trail: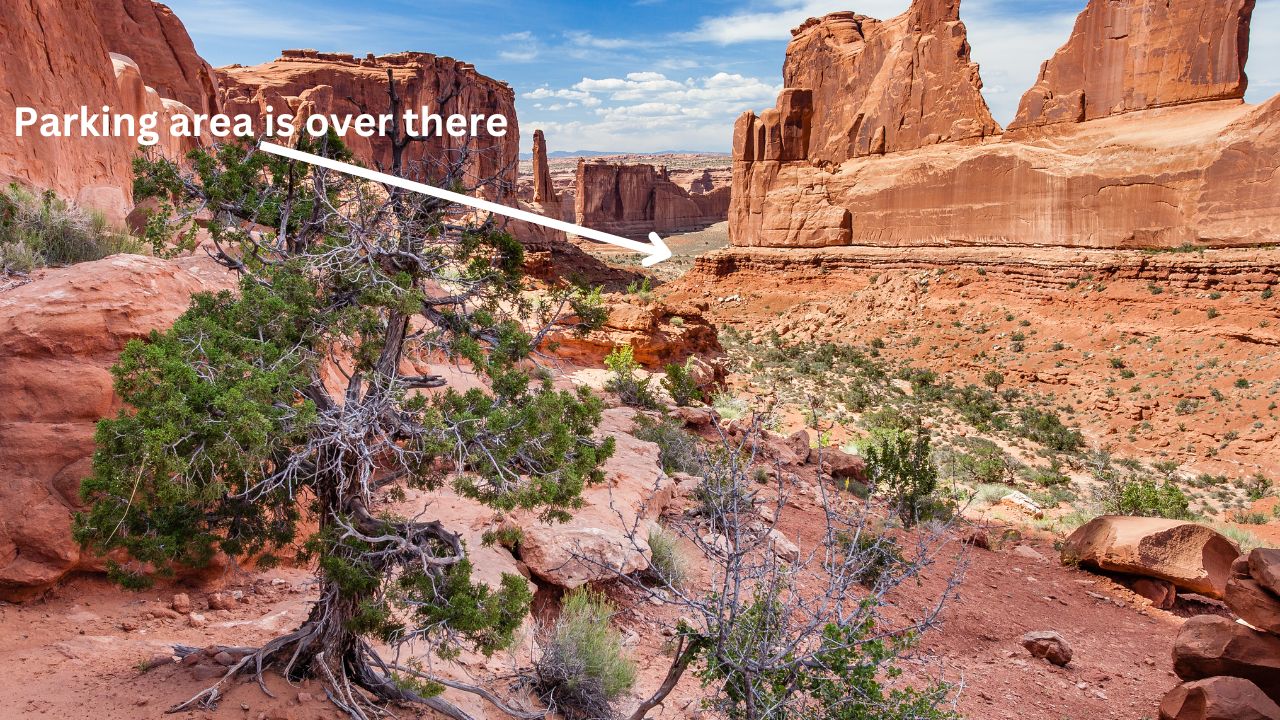 Just to be clear, while I recommend you do this hike, you can also see similar and amazing views by just driving on the road deeper into the park and then exiting the same way back for a different view of it and it’s one of the best scenic drives in Utah. But I do recommend doing both the scenic drive and the hike if you can, and on the trail subject this is one the best hikes in Utah! Here’s one more photo from the drive back to the entrance of the park once I was done exploring it:
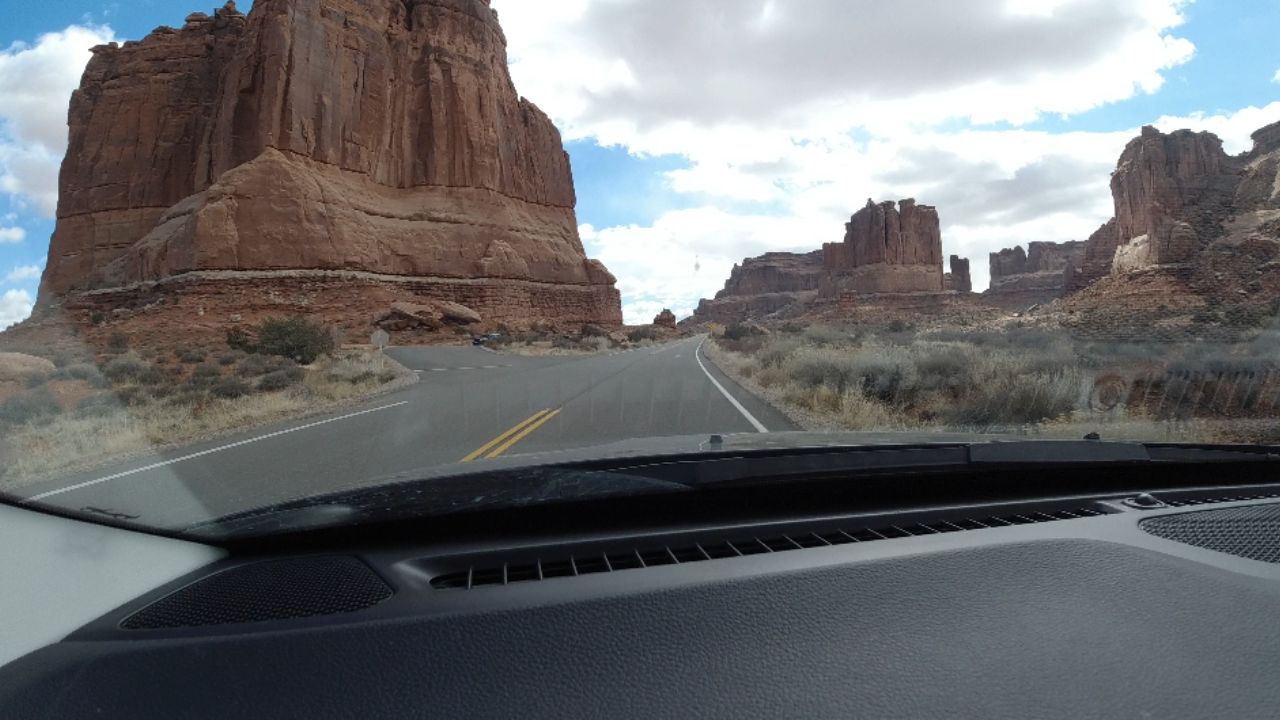
7) Devils Garden photos:
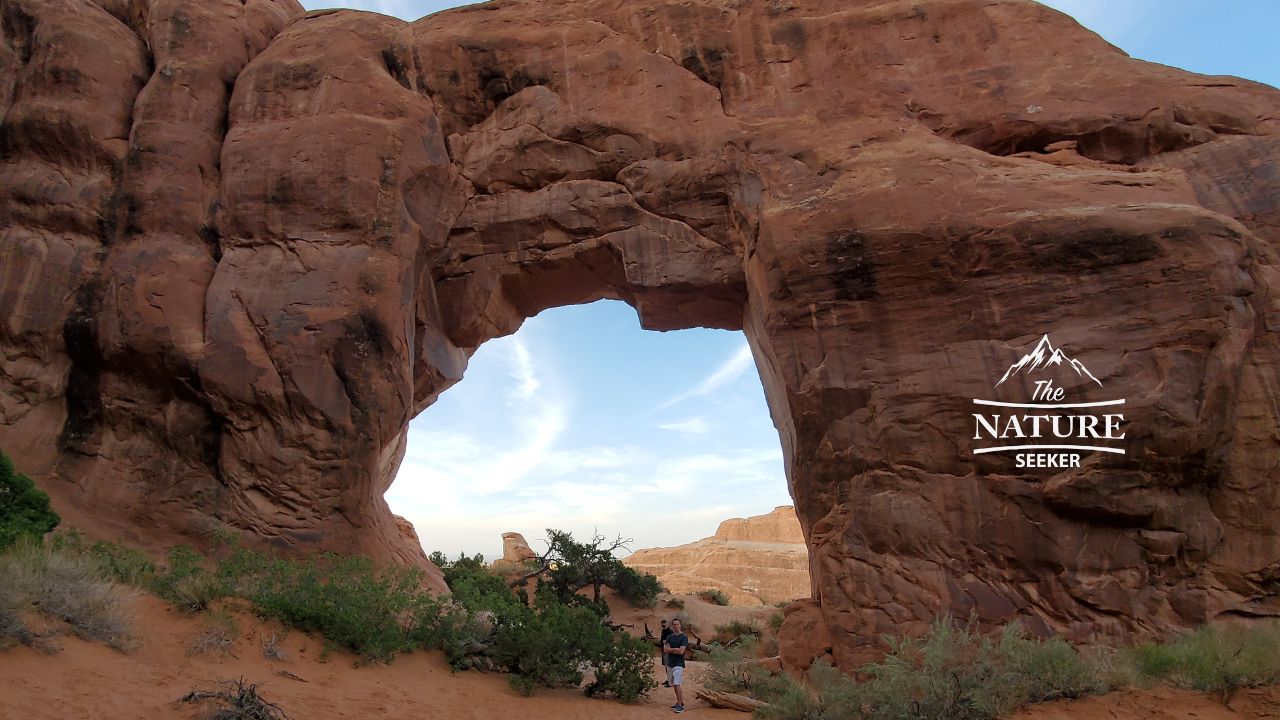
Photo details:
The Devils Garden trail is one I regret to say I didn’t fully do (yet) because it was getting too late when I was there last time. The trail is about 8 miles long and you will have numerous arches and photos to take on it, including the one above. When you start on this trail, you’ll pass through amazing slick red rocks which I actually found to be more amazing looking than most of the arches I saw the day I visited the park: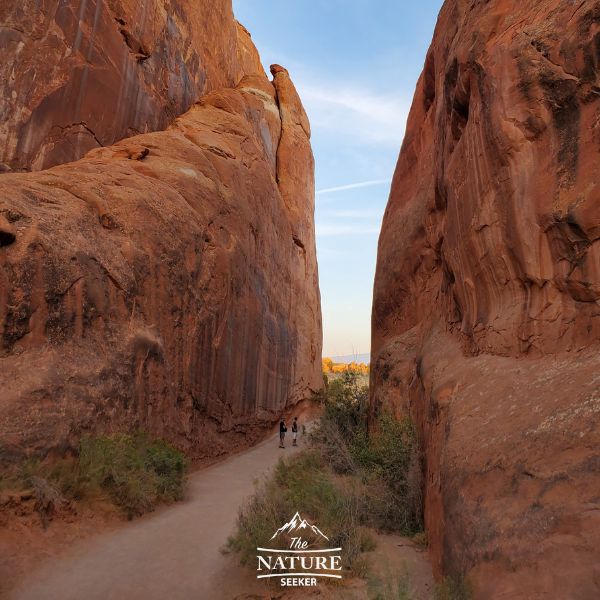 That specific spot is about 500 feet from the parking lot. The further into the trail you go, the less of these cliffs you will see but there will be occassional arches and moderate level hiking. Here is another angle of those red cliffs and the amazing pink sand you see there:
