10 Mountain Pose Photo Ideas That’ll Make Your Instagram Pop
Taking photos in the mountains creates amazing memories of your outdoor adventures. The fresh air, stunning views, and natural backdrops make every shot special. Your pictures will remind you of the good times spent exploring nature’s beauty.
Your poses can turn ordinary mountain photos into eye-catching shots that capture both the scenery and your personality. Getting creative with your poses helps you show off the landscape while making your pictures more fun and interesting. Whether you’re hiking solo or with friends, these photo ideas will help you get pictures worth sharing.
1) Crouching with a view

Getting down low can create amazing mountain photos. Pick a spot with a clear view of the peaks and crouch down on one knee.
Try resting your arm on your raised knee while looking out at the scenery. This gives you a natural, relaxed pose that frames the mountains perfectly.
You can also experiment with your head position. Try looking slightly upward as if taking in a deep breath of mountain air. This adds a sense of peace to your photo.
Make sure to position yourself so the camera captures both you and the mountain backdrop from the side. This angle shows off the landscape while keeping you as an interesting focal point.
Stay steady and balanced in your crouch. Plant your feet firmly and take your time getting comfortable. A wobbly pose won’t look as good in the final shot.
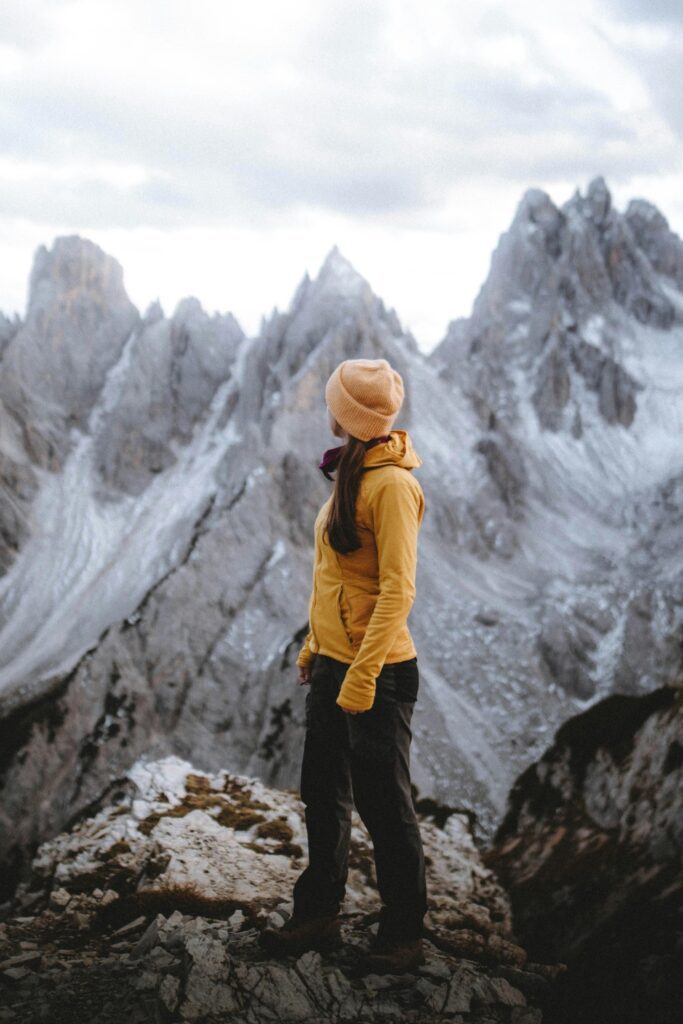
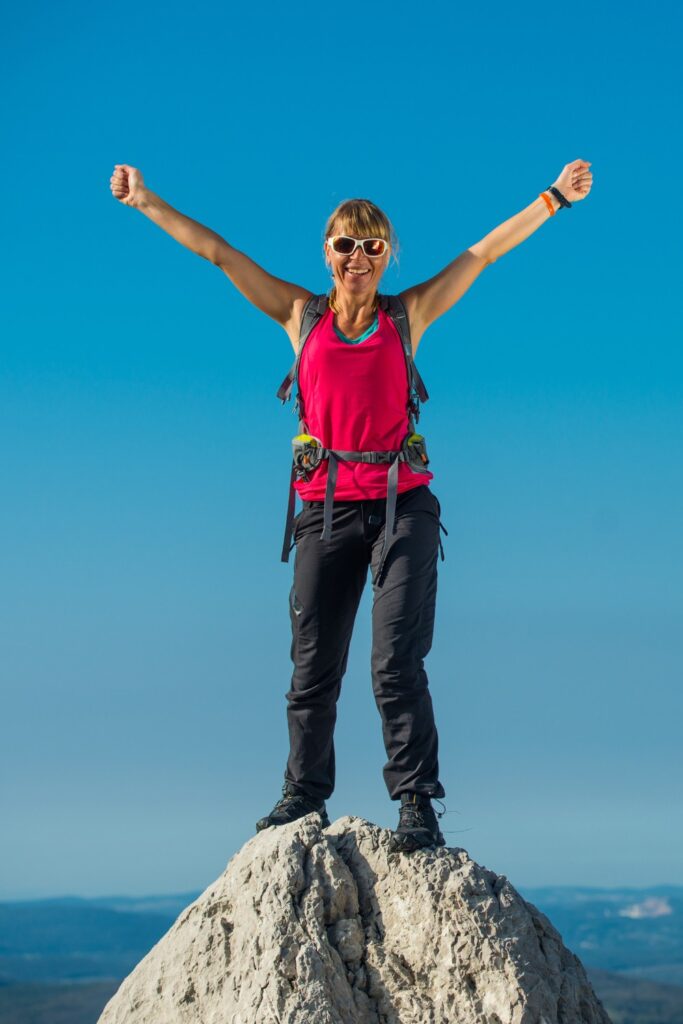
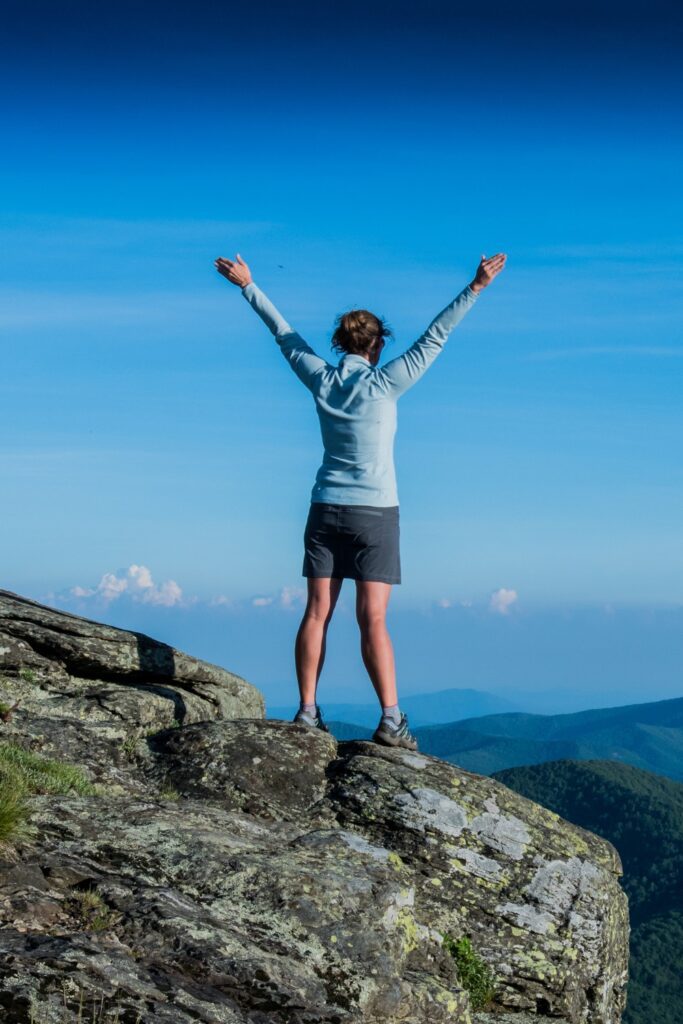
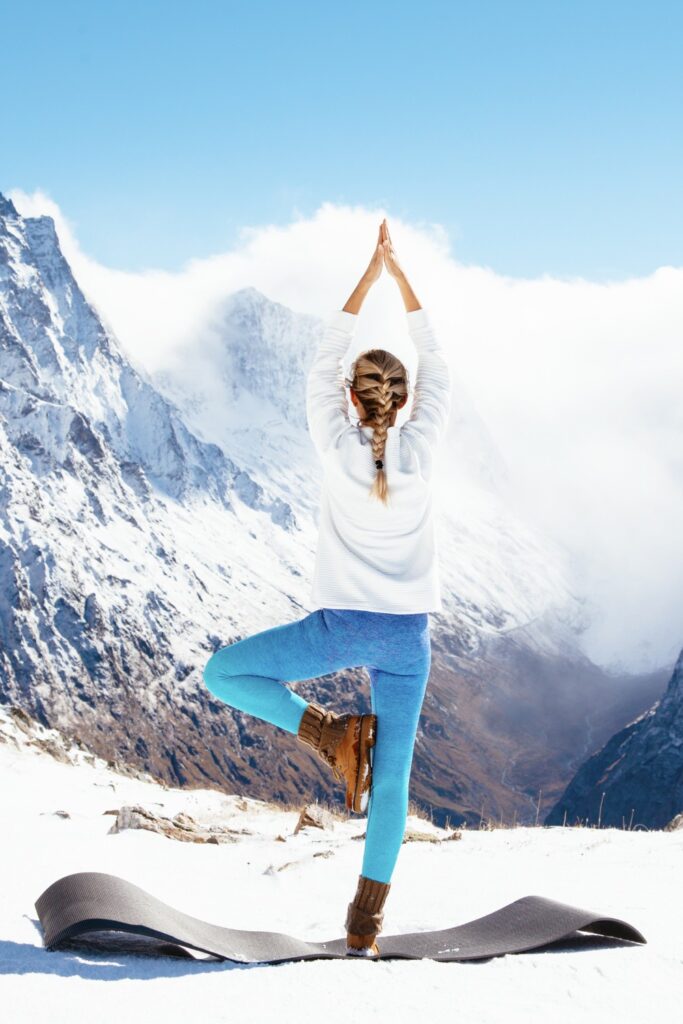
2) Stretch and admire the peaks
Stand tall with your arms stretched wide toward the mountains. This pose shows off your connection to nature while creating a sense of freedom and adventure in your photo.
You can try this pose from different angles. Face the camera with the mountains behind you, or have the photographer capture your profile as you gaze at the peaks.
Morning or late afternoon light works best for this shot. The golden sunlight adds warmth and drama to both you and the mountain backdrop.
Keep your pose natural and relaxed. You might want to take a few deep breaths to help you feel at ease and get that genuine look of wonder on your face.
Try standing on a rock or elevated spot to get better separation between you and the mountains. This helps create depth in your photo and makes the mountains appear even more impressive.
Consider wearing bright colors that stand out against the mountain scenery. Red, yellow, or blue clothing can make your silhouette pop in the final image.
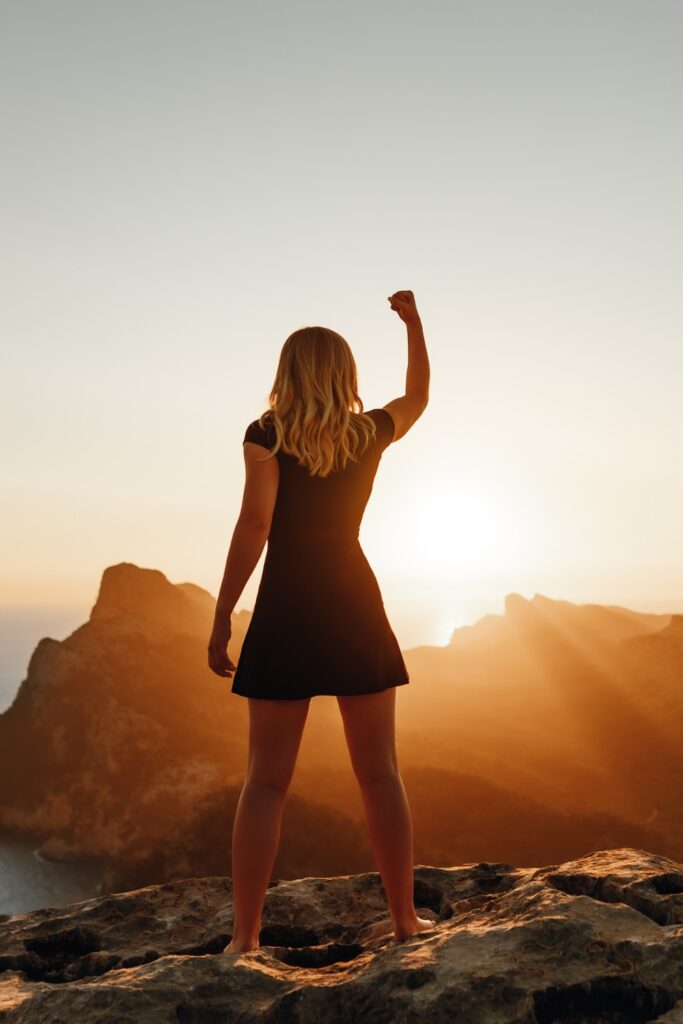
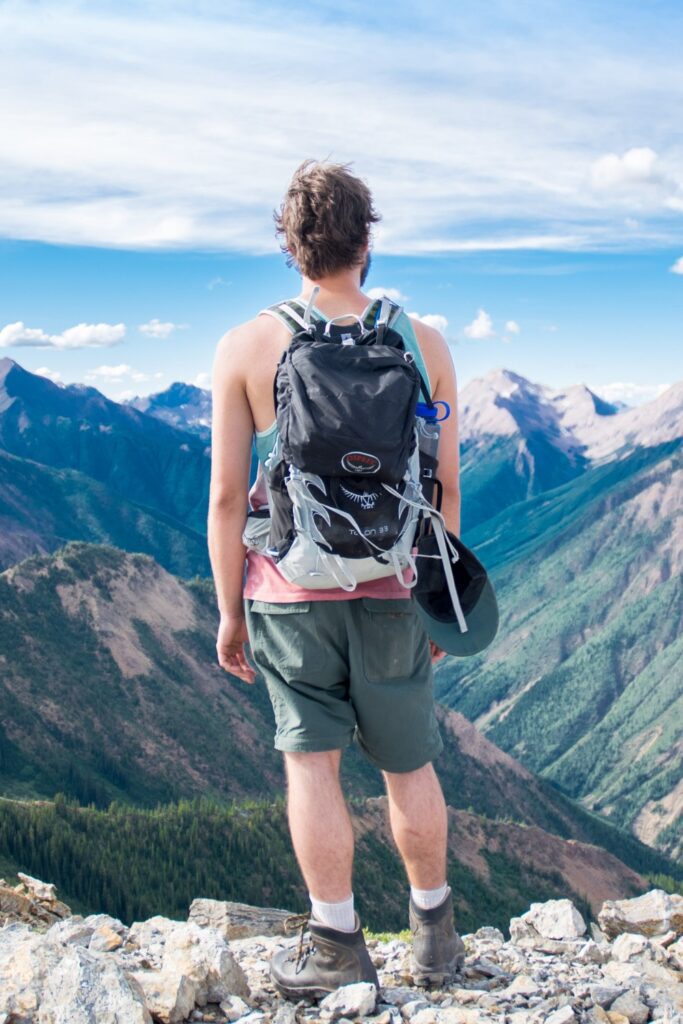
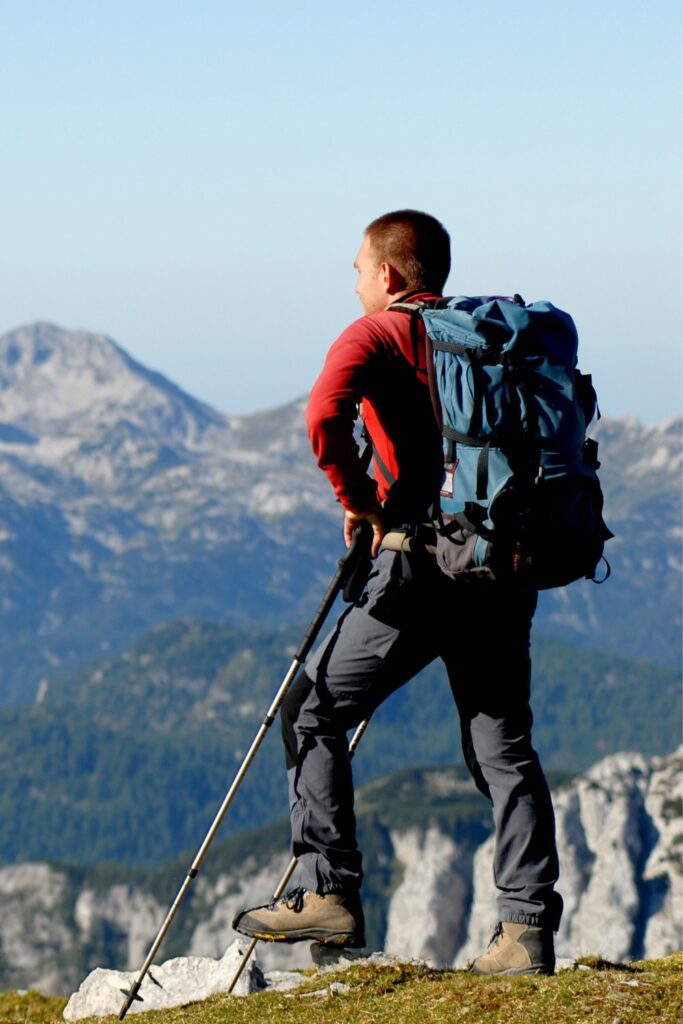
3) Hands on hips, look back
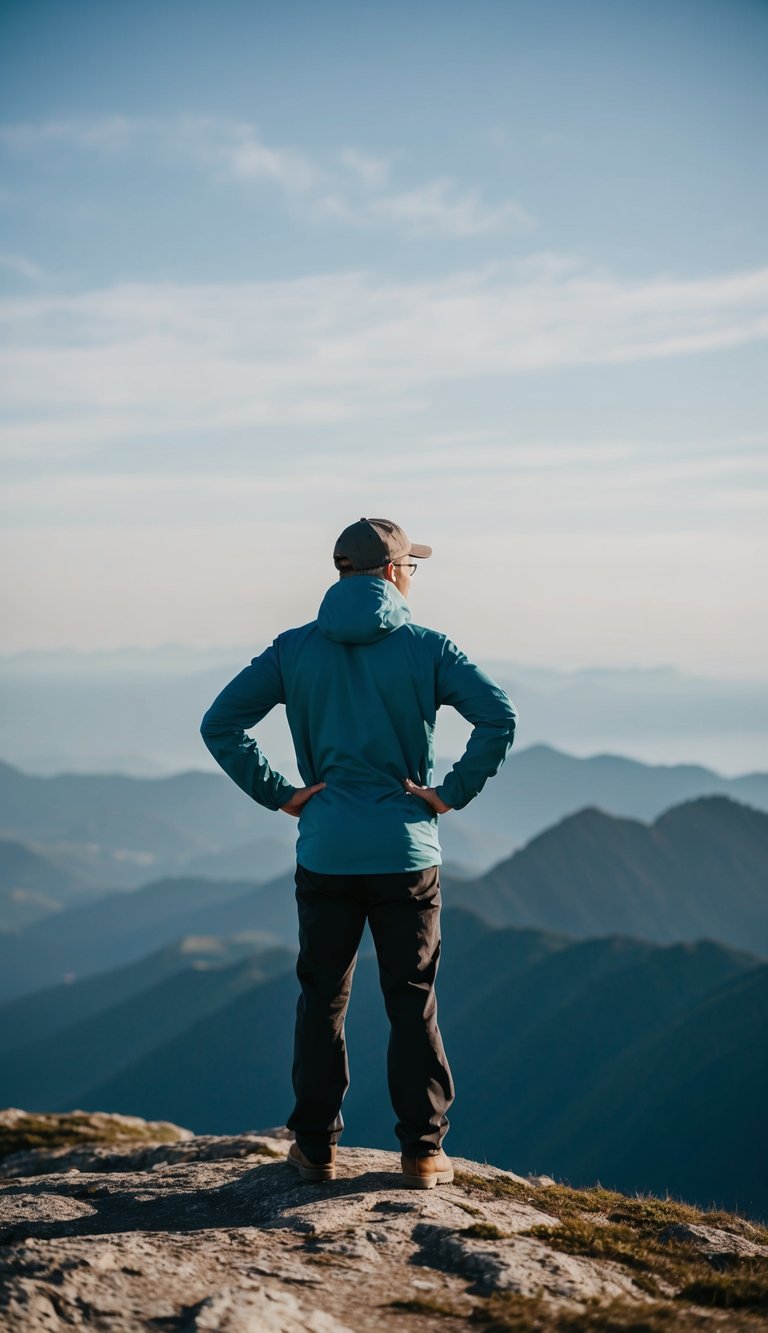
Stand with your feet shoulder-width apart and place your hands on your hips. This classic power pose makes you look confident and strong against the mountain backdrop.
Turn your head to look back over your shoulder at the view behind you. This creates a sense of adventure and shows off both you and the scenery at the same time.
Make sure your back is straight and your shoulders are relaxed. Your pose should feel natural, not stiff or forced.
Try this pose from different angles. You can face straight ahead while looking back, or angle your body slightly to one side for more visual interest.
This pose works great during sunrise or sunset when the lighting adds a magical glow to your photos. The sideways glance adds mystery and draws viewers into wondering what caught your attention.
Pick a spot where there’s an amazing view behind you. This could be mountain peaks, valleys, or dramatic clouds – anything that creates an impressive background for your shot.
4) Pretend to tie your shoe
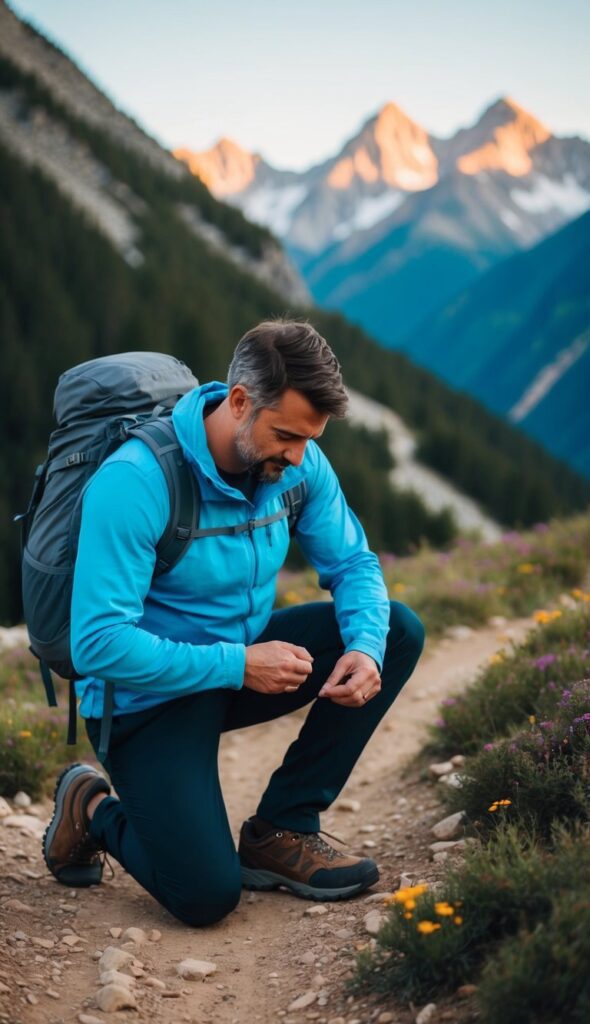
This classic pose works great with mountain backdrops and hiking trails. Simply kneel down on one knee and pretend to adjust your shoelaces.
Make sure to angle yourself so the mountains are visible behind you. The pose looks most natural when you’re on a clear part of the trail with an open view.
Try different variations like fully kneeling, squatting, or sitting on a rock while reaching for your shoes. These give you options to find the most flattering angle.
Keep your head slightly turned toward the camera while looking down at your shoes. This creates an authentic candid feel while still showing your face.
This pose works best when wearing hiking boots or athletic shoes that match the outdoor setting. Clean shoes will look better in photos, so brush off any excess dirt first.
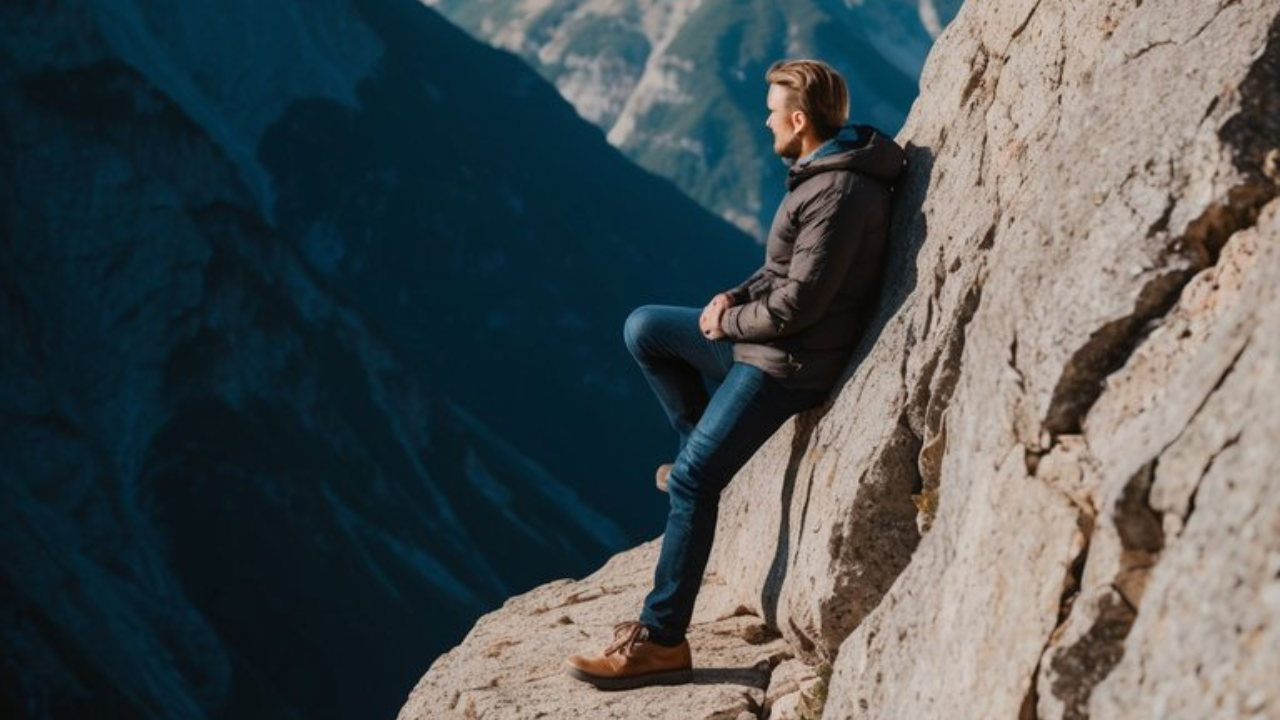
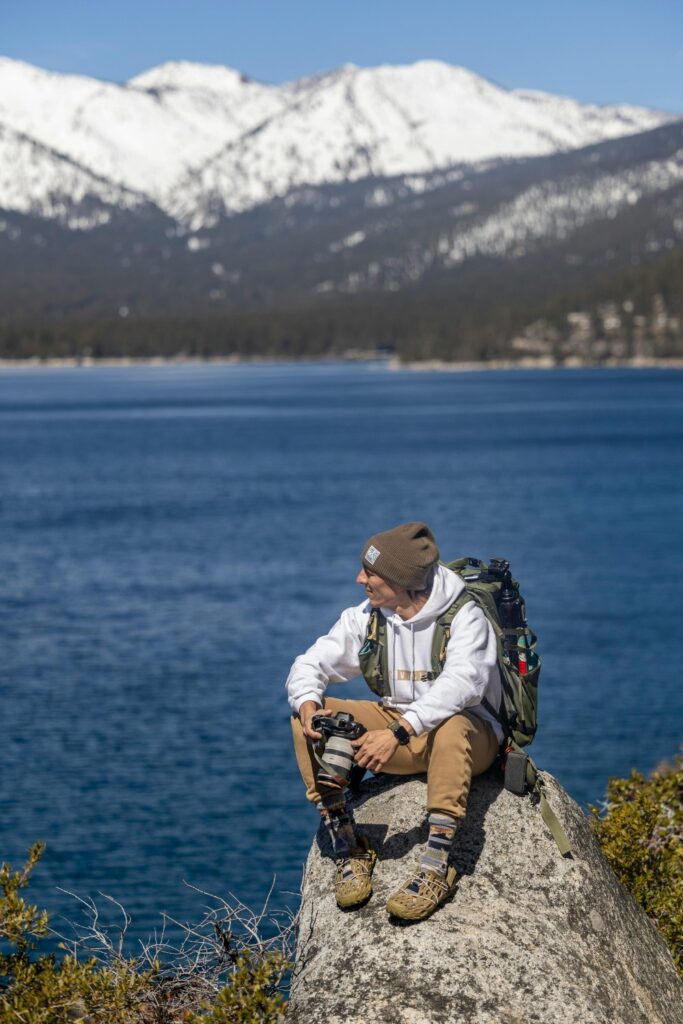
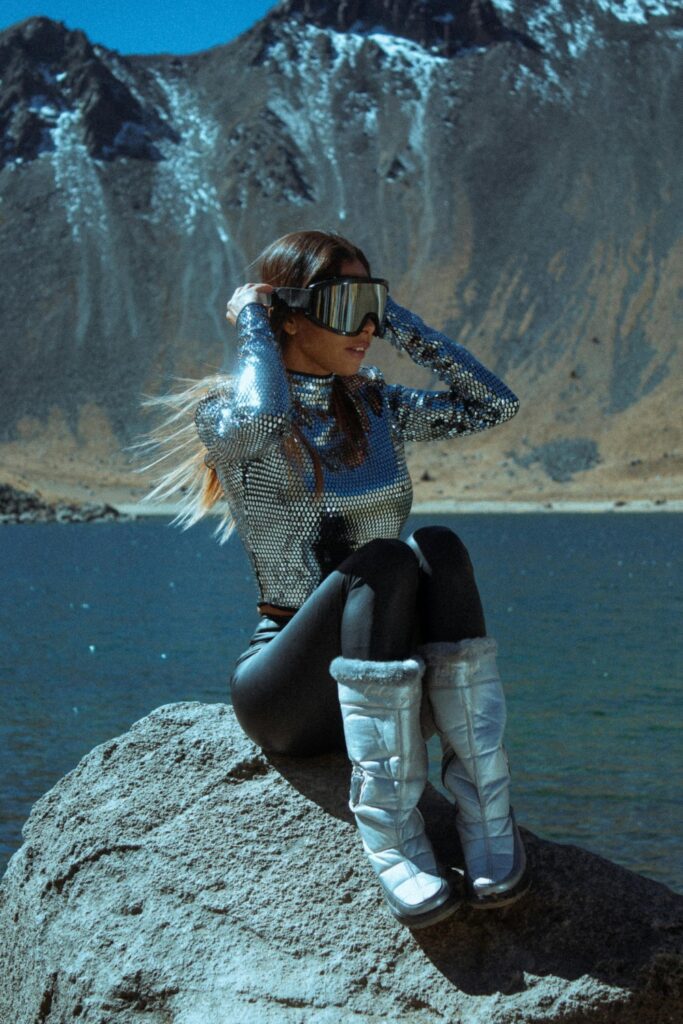
5) Lean against a rock
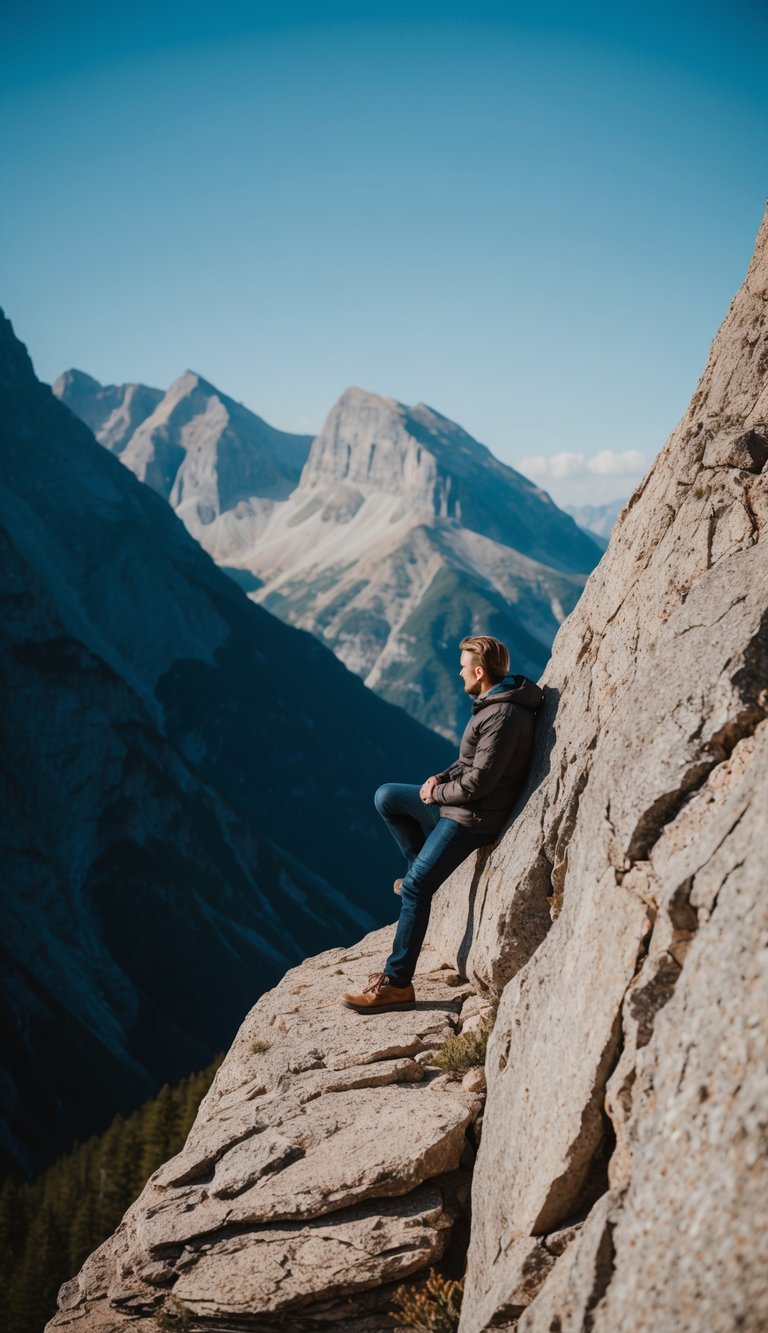
Finding a sturdy rock creates a natural and relaxed mountain photo. Pick a rock that’s big enough to lean on comfortably and matches your height when standing or sitting.
Try angling your body slightly to one side while keeping your back straight against the rock. This creates nice lines in your photo and looks more natural than facing directly forward.
You can cross your arms, put your hands in your pockets, or let them hang naturally at your sides. Looking off into the distance adds a thoughtful, adventurous feeling to the shot.
Make sure the rock you choose has an interesting texture or color that adds to the photo. Rocks with moss, interesting patterns, or dramatic shapes work really well as backdrops.
For the best lighting, position yourself so the sun isn’t directly behind you or the rock. Morning or late afternoon light creates nice shadows and highlights that make the photo more interesting.
Keep some space around you in the frame so the mountains are visible too. The rock should add to your photo without taking over the whole scene.
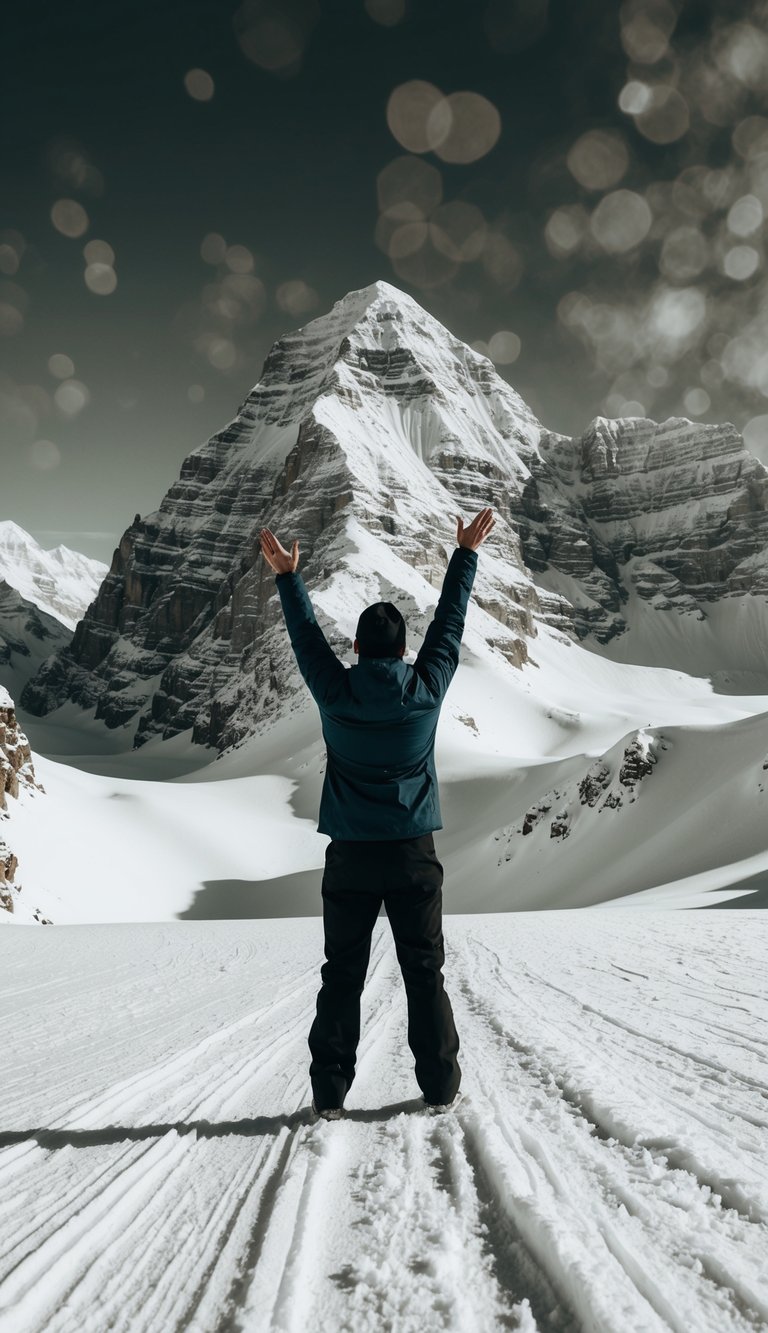
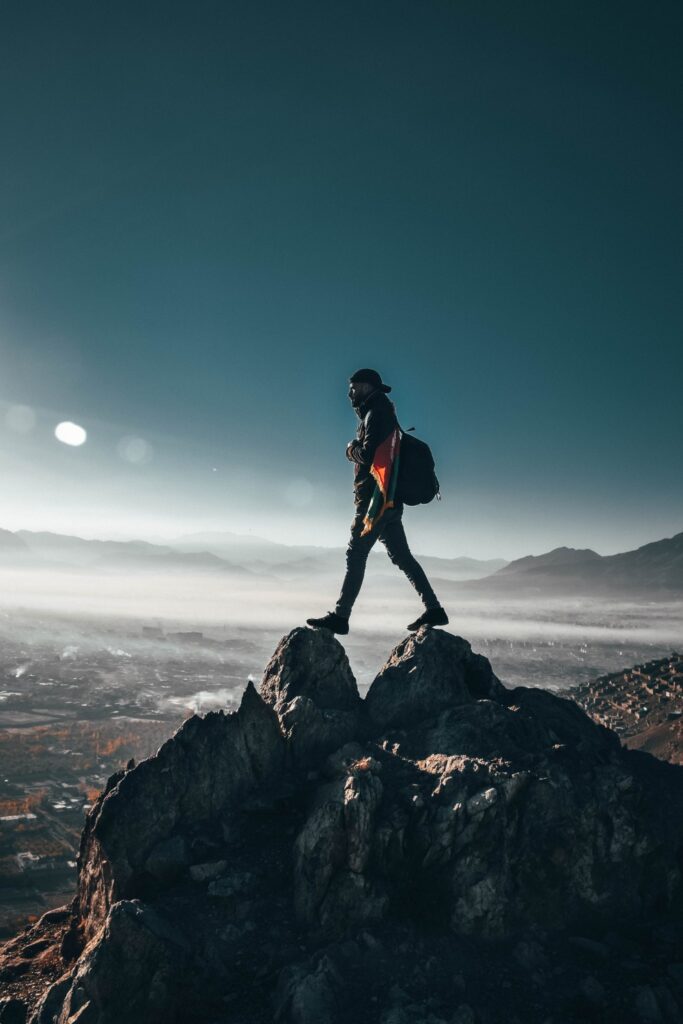
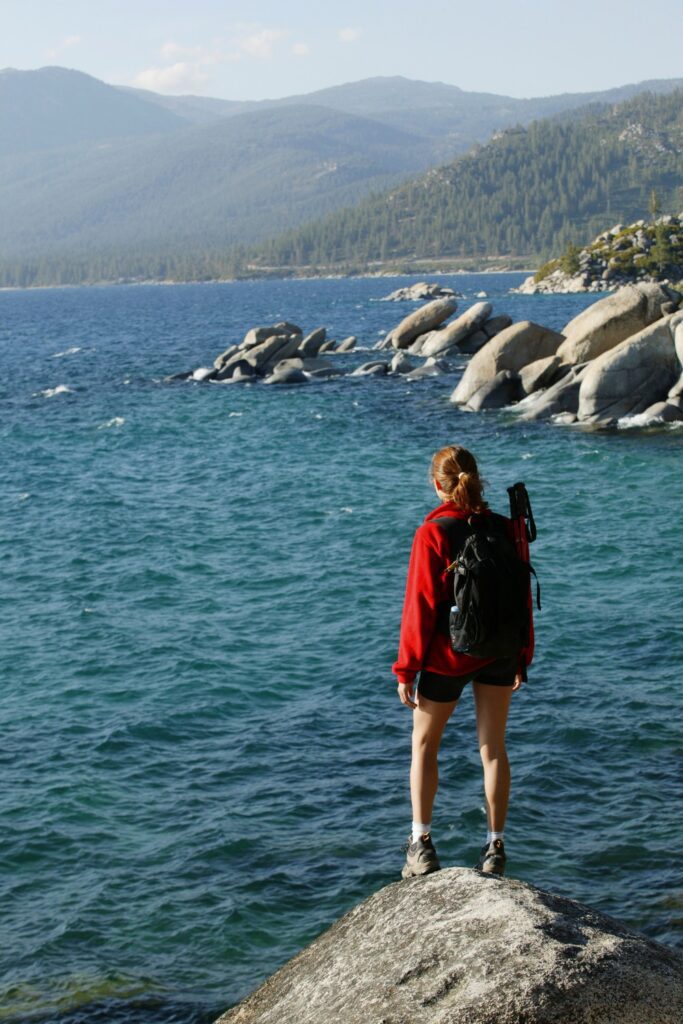
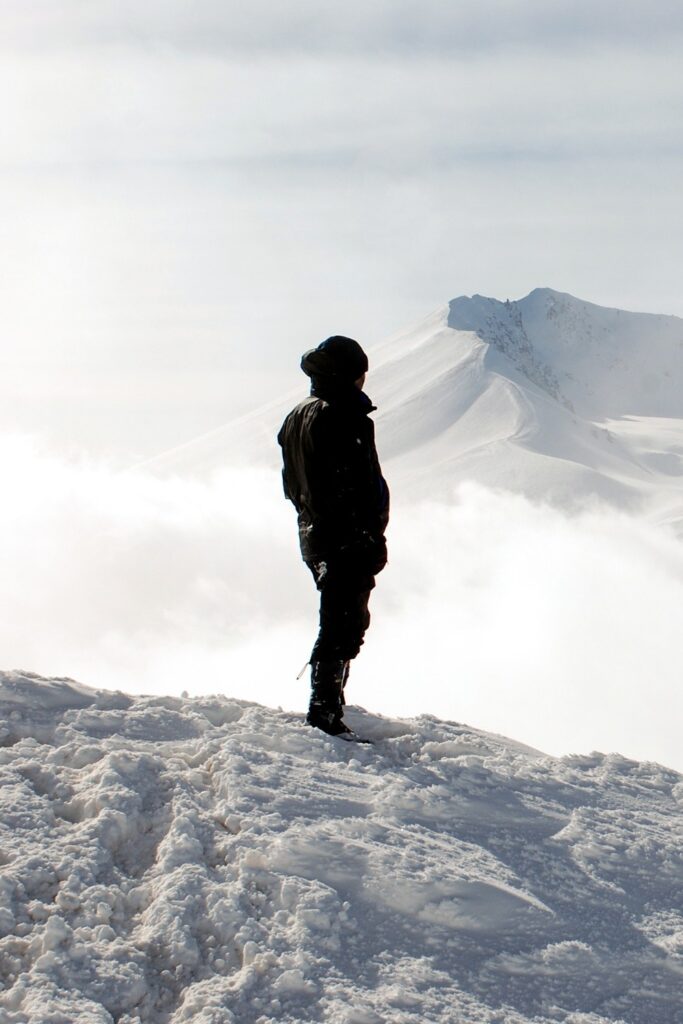
6) Face the summit, arms wide
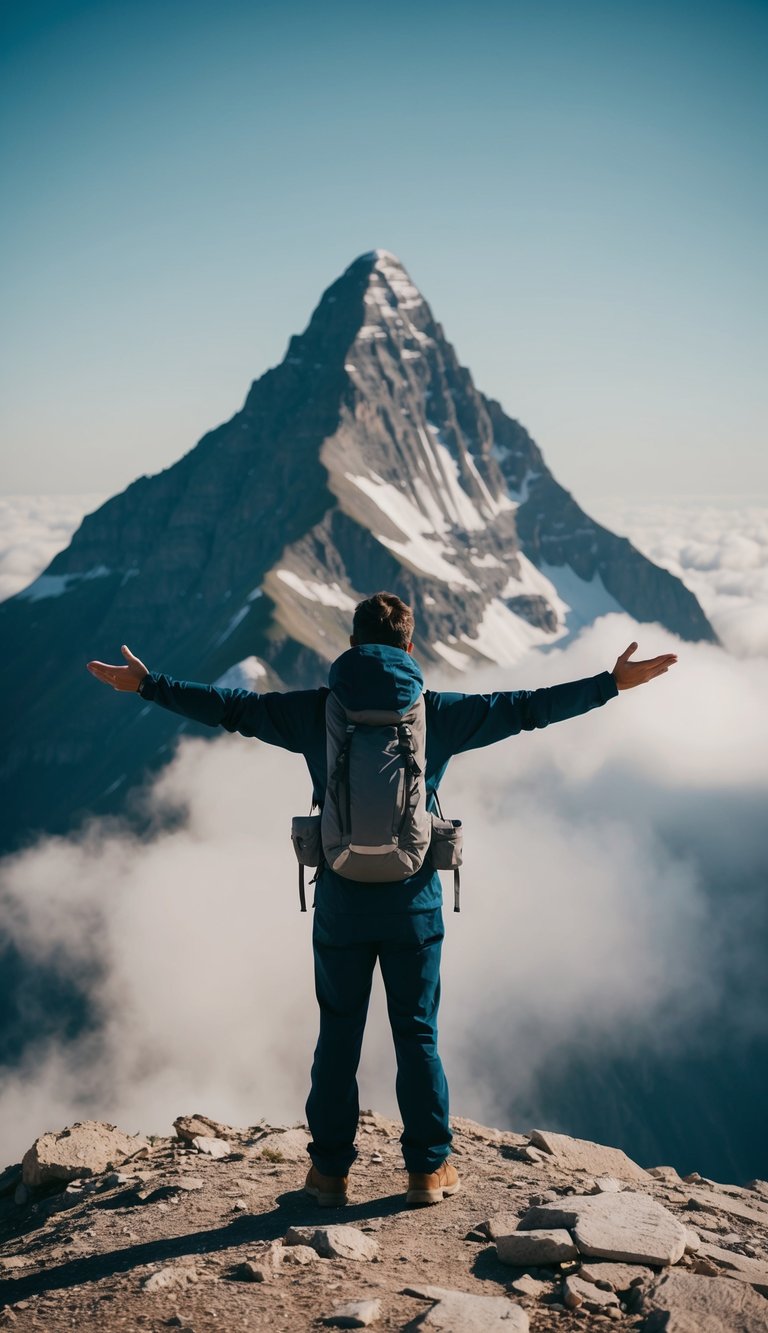
This classic mountain pose never gets old. Turn your back to the camera and spread your arms wide like wings while facing the breathtaking view ahead.
Make sure the mountain peaks are visible in the background. You want to capture both your silhouette and the stunning landscape stretching out before you.
Pick a spot where you can stand safely, ideally on a clear summit or viewpoint. The early morning or late afternoon light works best for this shot, creating nice contrast between you and the sky.
Your photographer should crouch slightly to get a low angle. This makes you look taller and more powerful against the mountain backdrop.
Keep your stance strong but natural. Plant your feet about shoulder-width apart and lift your chin slightly to show you’re taking in the view.
7) Peek over a ledge
Grab a fun shot by carefully lying on your stomach near a safe ledge or rock outcropping. Make sure to keep most of your body away from the edge for safety.
Position your head and shoulders to peek over the edge while looking down at the view below. This creates a playful and adventurous vibe in your mountain photos.
Ask your photographer to capture you from the side angle to show both your pose and the scenic backdrop. The side view helps showcase the height and drama of your location.
Remember to only attempt this pose in spots with stable ground and clear visibility. Stay at least a few feet back from any unstable or crumbly edges.
Your facial expression can make this pose even better. Try looking amazed, surprised, or excited as you peer down at the landscape below you.
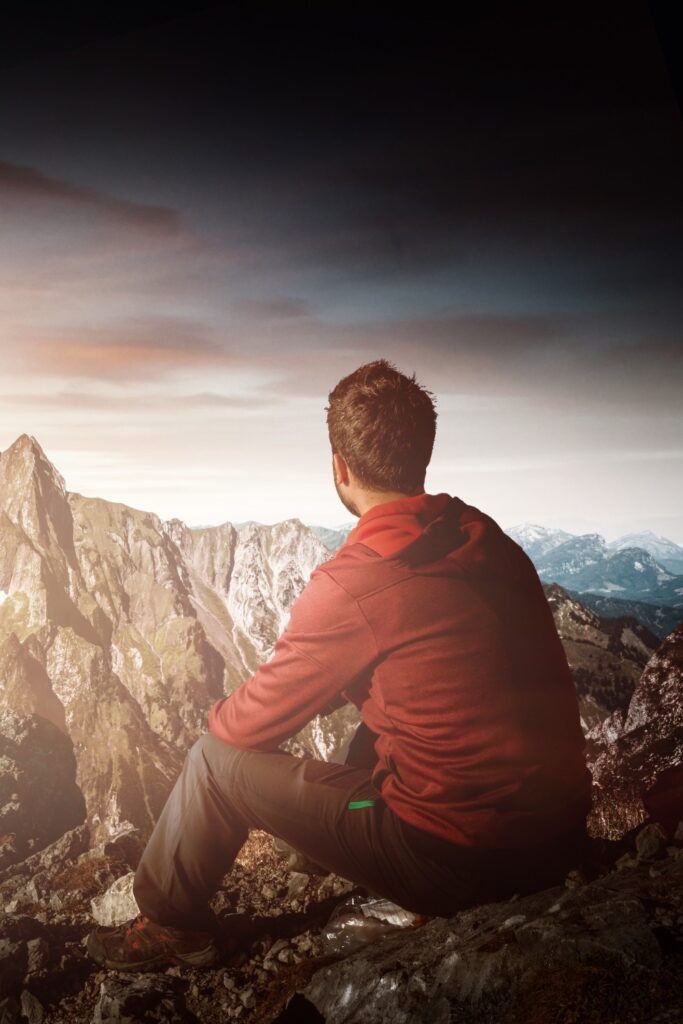
8) Sit cross-legged, meditate

Capturing a peaceful meditation pose creates a powerful connection between you and the mountain landscape. Find a flat rock or clearing with a scenic backdrop and sit cross-legged in a comfortable position.
Keep your spine straight and rest your hands gently on your knees. You can place your palms facing up or down – whatever feels most natural. Try closing your eyes for a serene expression.
Turn your face slightly to one side to show your profile against the mountain vista. The angle adds depth to your photo while highlighting the majestic scenery behind you.
Take the shot from a few feet away to include both you and the surrounding environment. Morning or late afternoon light works best, creating a soft glow that enhances the peaceful mood.
Consider adding movement by letting your hair or clothing flow gently in the breeze. This small detail brings life to an otherwise still pose.
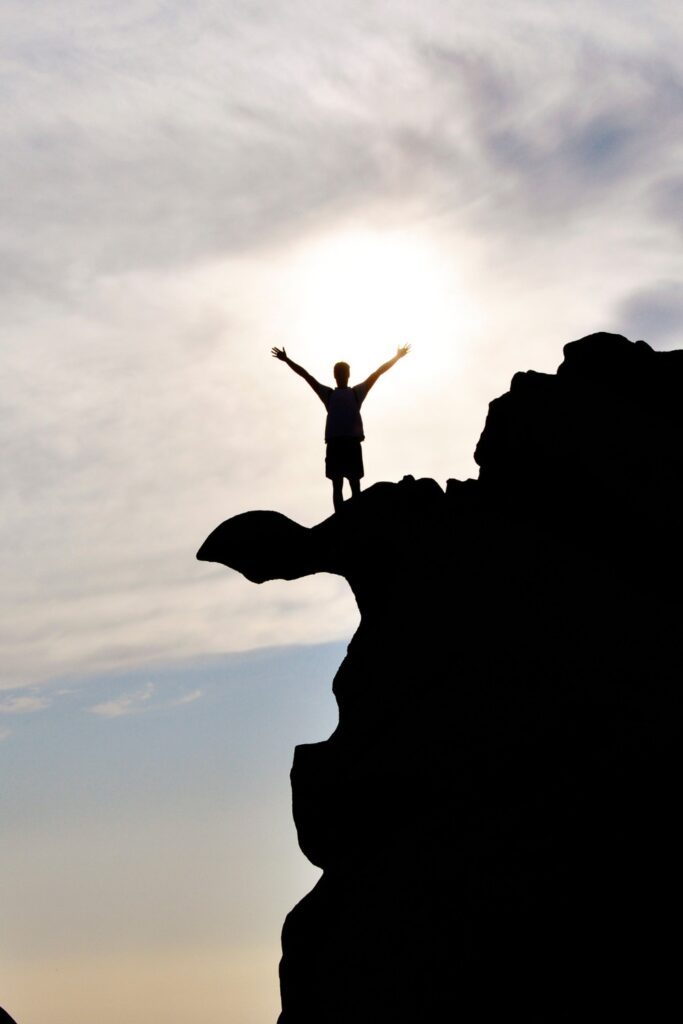
9) Jump with joy

Jumping photos add energy and excitement to your mountain pictures. They work best when you time your jump at the peak of a hill or mountain ridge to create a striking silhouette against the sky.
Pick a safe, flat spot with solid footing to jump. Make sure there’s nothing that could trip you up, and keep a good distance from any steep edges.
Ask your photographer to use burst mode or continuous shooting to capture the perfect moment. It might take a few tries to get the timing right, but that’s part of the fun.
Try different jump poses like star jumps, knee tucks, or simply leaping with your arms raised high. The simpler the pose, the easier it is to capture clearly.
Wear clothes that move well and won’t restrict your movement. Flowy dresses or loose jackets can create nice movement in the shot.
The best light for jump shots is during golden hour when the sun is low. This creates beautiful rim lighting around your silhouette and adds warmth to the scene.
Remember to bend your knees when landing to protect your joints. Take breaks between jumps if you need them – getting the perfect shot shouldn’t leave you exhausted.
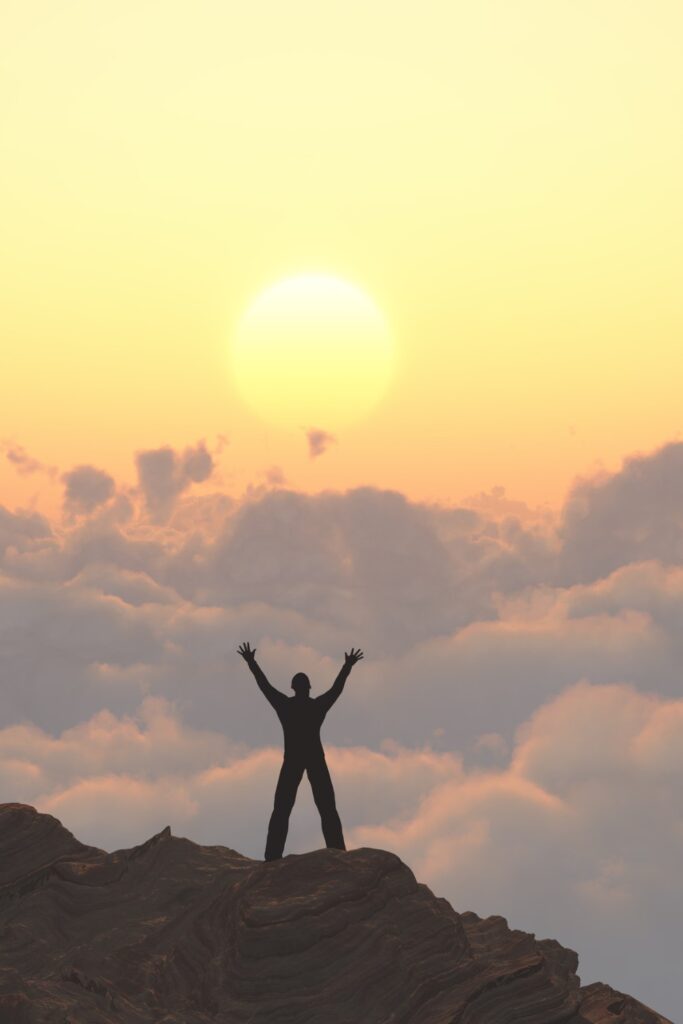
10) Silhouette sunset shot
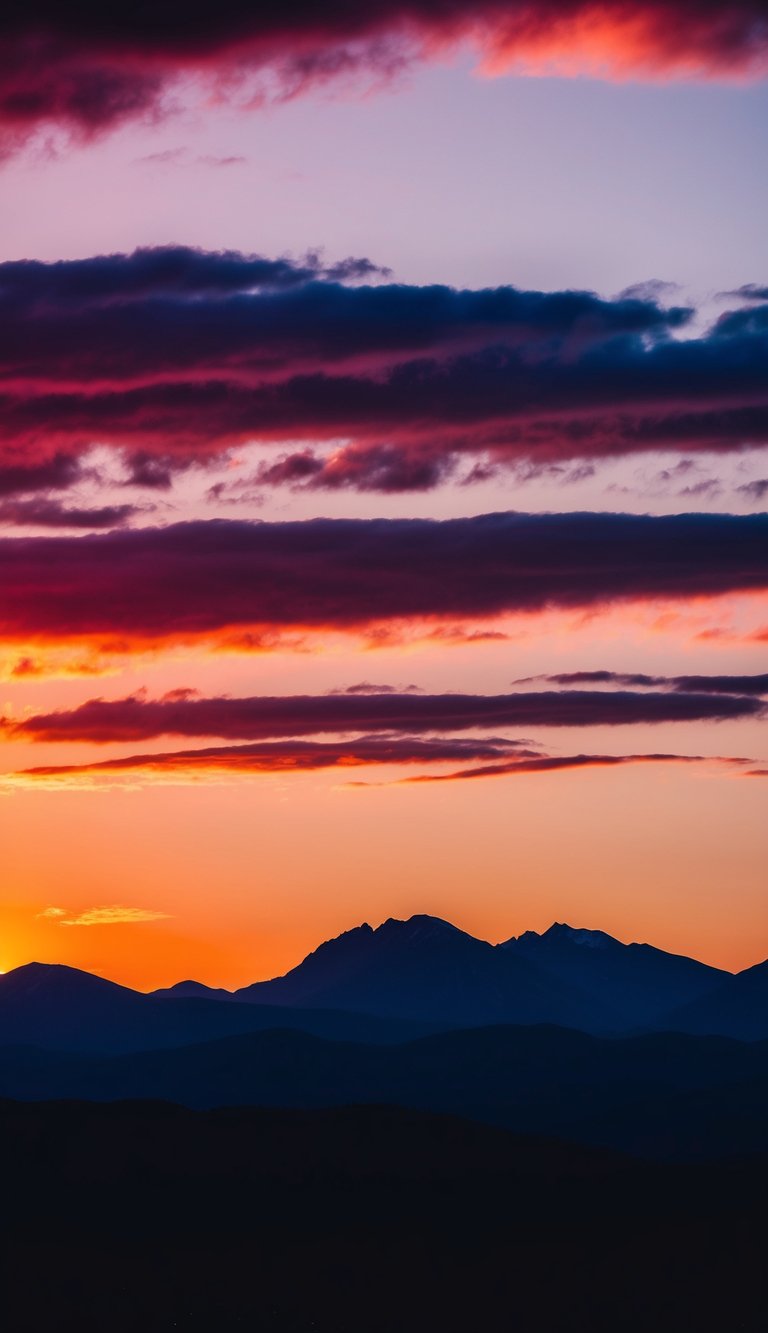
Sunset silhouette shots create magical mountain photos that stand out from typical daytime shots. This pose works best when you stand on a mountain peak or ridge with the sun setting behind you.
Position yourself so the sun is directly behind you, creating a dark outline of your body against the colorful sky. Try standing with your arms raised or in a jumping pose to add some dynamic energy to the shot.
Make sure your photographer shoots from a lower angle, pointing slightly upward to capture both you and the sunset sky. This angle helps create that perfect silhouette effect where your body appears as a dark shape against the bright background.
The best time to take these photos is during golden hour, about 30 minutes before sunset. The warm colors in the sky will make your silhouette pop even more.
Keep your movements simple and clean to create a clear outline. Basic poses like standing with your arms out or looking off into the distance work really well for silhouette shots.
Don’t forget to pack a light jacket or hat – these accessories can add interesting shapes to your silhouette and make the photo more unique.
Understanding Mountain Pose
Mountain pose helps you capture powerful photos that connect with nature and show off your adventurous spirit. It creates a strong visual impact while keeping you safe on rocky terrain.
Benefits of Mountain Pose
The mountain pose gives your photos depth and scale by placing you in relation to the landscape. You’ll look more natural and relaxed compared to stiff, formal poses.
This pose works great for both close-up shots and wider landscape photos. You can adjust your position to highlight different background elements like peaks, valleys, or sunrise views.
Mountain pose keeps you balanced and stable on uneven ground. Your feet stay firmly planted while you create dynamic angles with your upper body.
Common Mistakes to Avoid
Keep your feet shoulder-width apart to maintain stability. Don’t lock your knees – a slight bend helps you stay balanced on rocky surfaces.
Watch your head position – tilting too far back or down can make your pose look awkward. Try to keep your chin level and gaze naturally toward the horizon.
Make sure your arms don’t block important background elements. Test different arm positions like hands on hips, arms spread wide, or resting on hiking poles.
Check that your clothing contrasts with the background. Dark outfits can get lost against mountain shadows, while bright colors pop against natural scenery.
Photography Tips for Capturing Mountain Pose
Great mountain pose photos need careful planning with attention to both lighting and scenery to create stunning results.
18 More Epic Mountain Pose Photo Ideas To Try:


Lighting Considerations
The best time to shoot mountain poses is during golden hour – about an hour before sunset or after sunrise. The soft, warm light creates a magical glow on both the subject and landscape.
Try to arrive at your location at least 90 minutes before your planned shoot time. The higher up the mountain you go, the earlier the light changes.
Keep your subject’s face well-lit by positioning them so the light hits at a 45-degree angle. This prevents harsh shadows while maintaining depth.
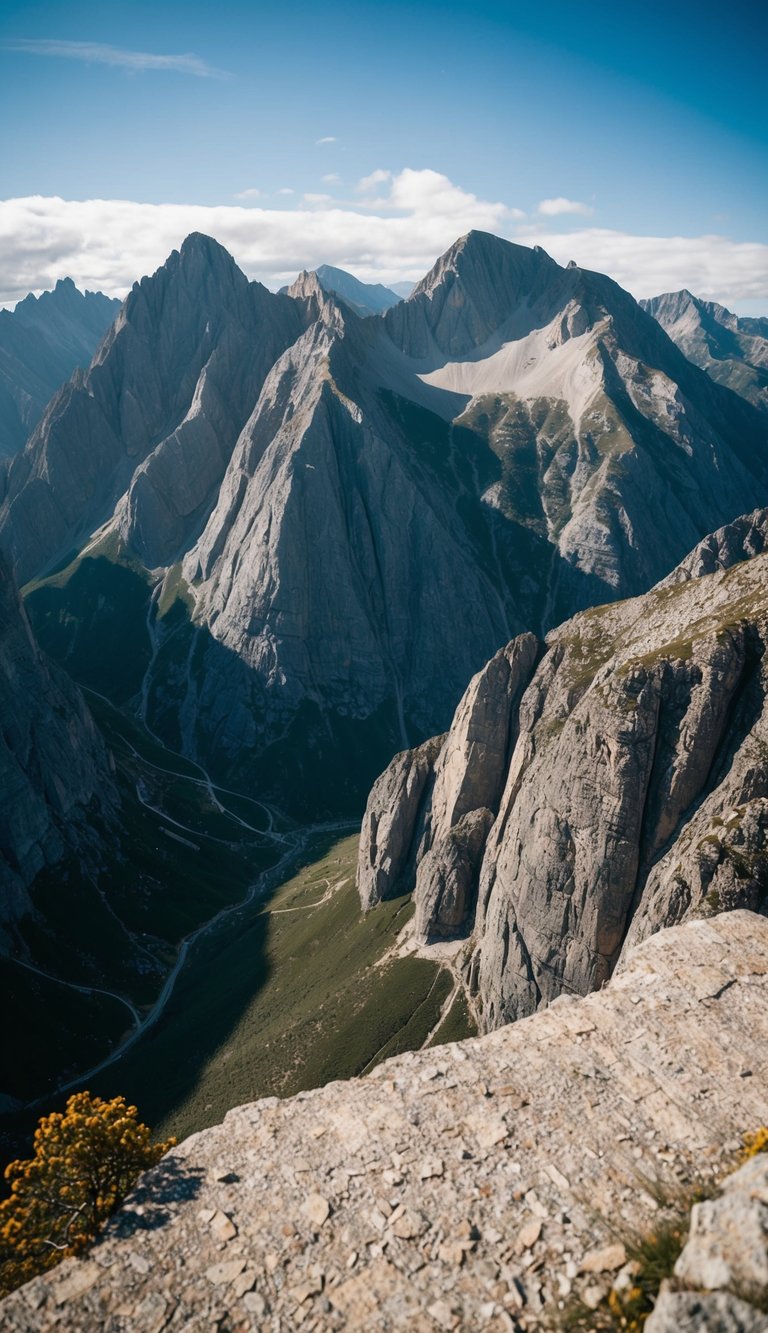
Choosing the Right Background
Pick a spot where the mountain peaks create natural leading lines drawing attention to your subject. Clean backgrounds without distracting elements work best.
Position your subject away from busy areas with lots of other hikers or structures. You want the focus to stay on the person and the natural scenery.
Look for spots with interesting textures like rocky outcrops or flowing meadows. These add visual interest without pulling focus from your subject.
A slightly elevated shooting position helps separate your subject from the background while showing off the landscape behind them.